Ever Contemplated Tinting The Lights on Your SHO but weren't sure what the color would look like, or what the percent light transmission really meant in terms of visibility...or maybe you were thinking of replacing the incandescent bulbs on your ride with LEDs and just weren't sure. Well here are some pics of my tuxedo black 2013 SHO during and after the job to give you a better idea. This is not a "how-to" since this has already been covered. Allow plenty of time on a warm day if decide to tint as it gets tricky and Lamin-X recommends 24 hours to cure before "exposing to the elements". I'll update this until it's all
done.Here we go............
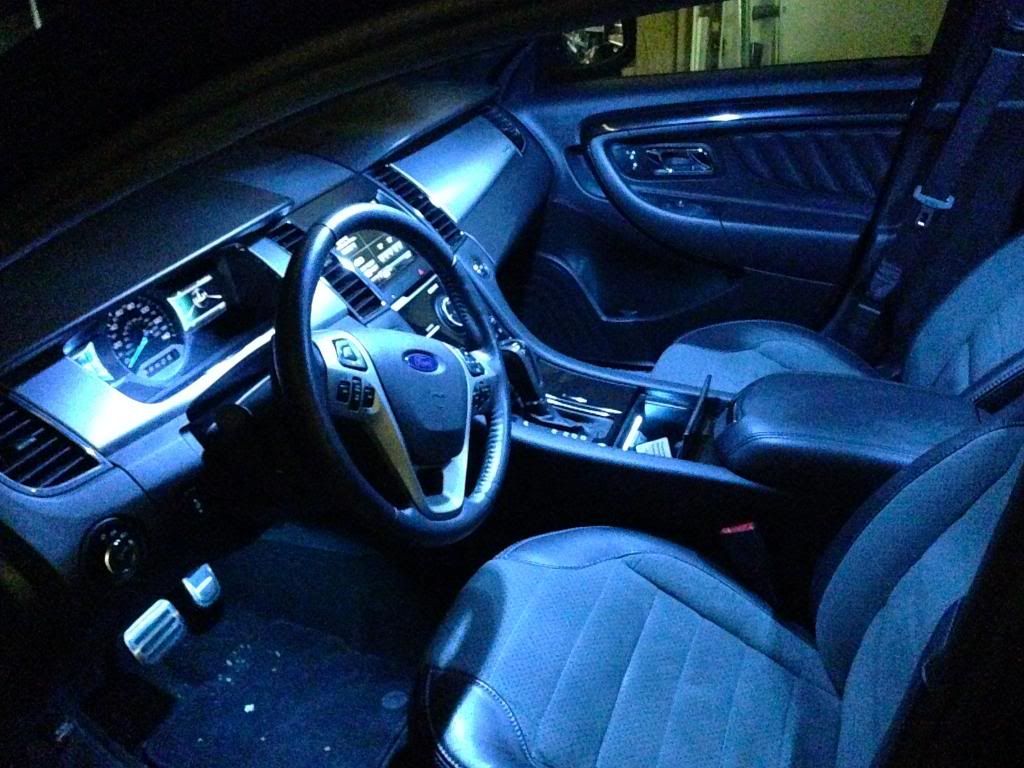
Below are before and after pics of the interior stock first, then with all bulbs replaced with 6K LEDs so it would match the light blue ambient lighting. It is MUCH brighter also. First one is before:
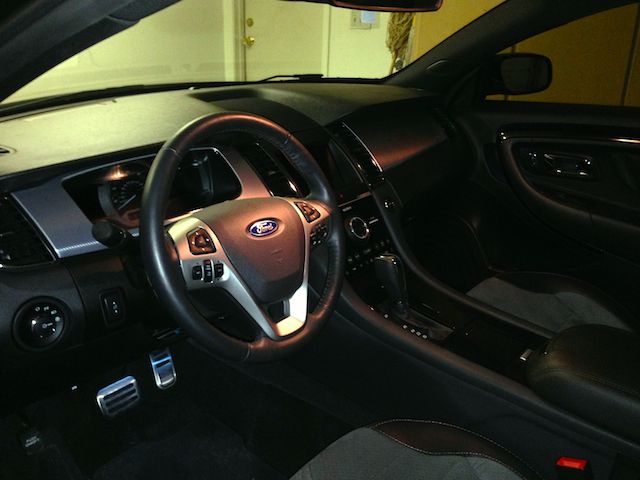
and below is after:
More on the lighting during tint pics and after custom LEDs arrive.
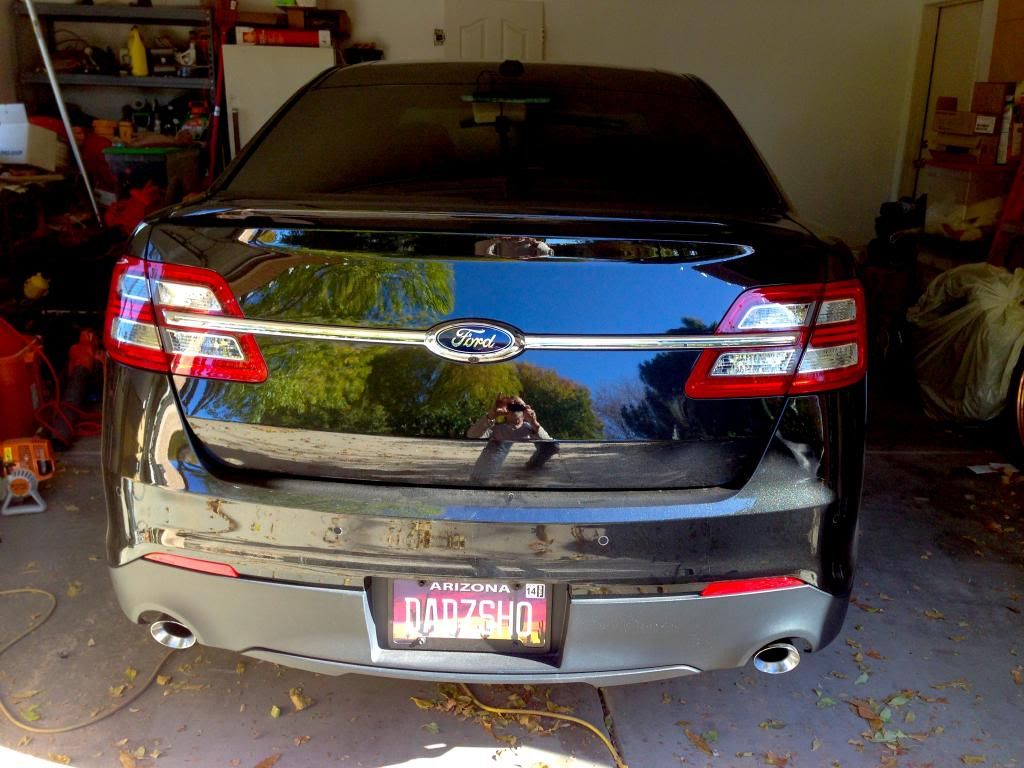
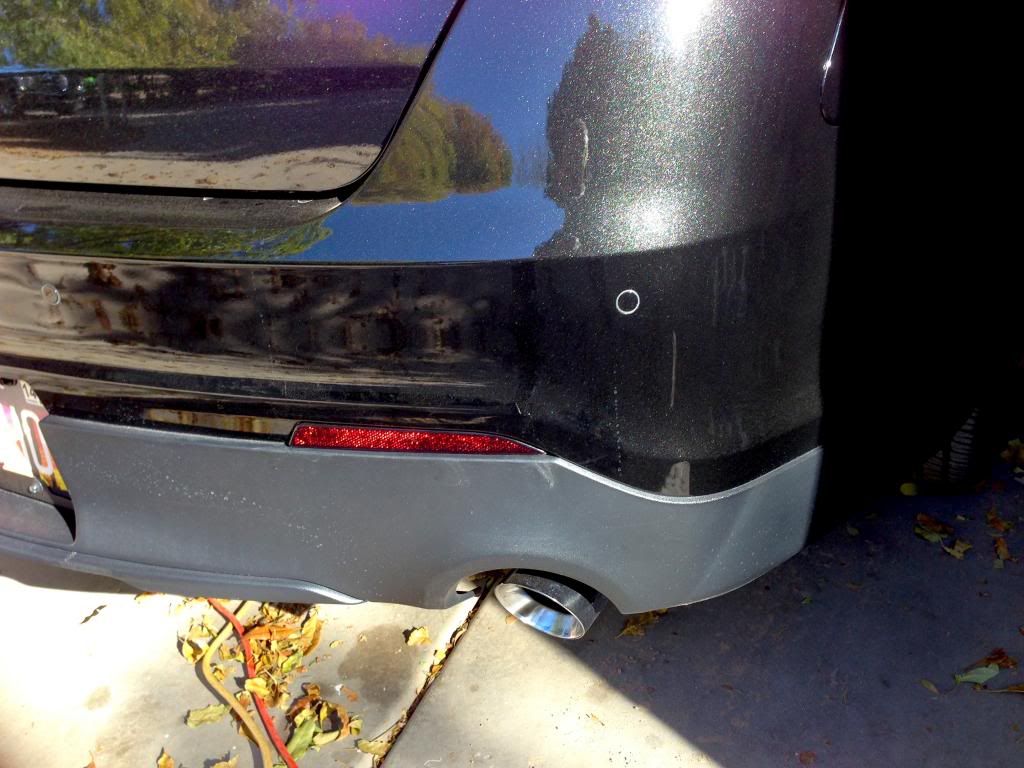
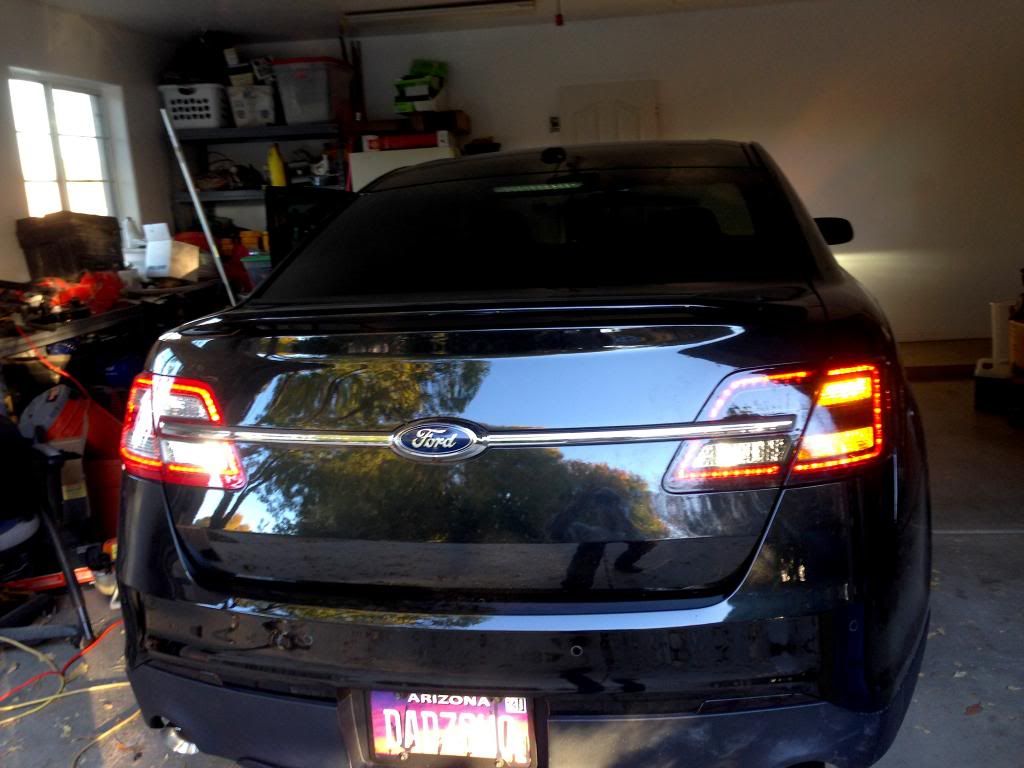
Next are pics of the tinting of the rear lights with comparison to stock using Lamin-X in charcoal (the darkest of five shades, 70% light transmission). Pardon the dirty car. Labels and info are above each pic....
1. This is the stock appearance... duh!
2. Below are two pics. I started with the right reflector because it had no compound curves.... OJT! The lower pic shows sunlight reflecting through the film... so even with the dramatic color change they still work.
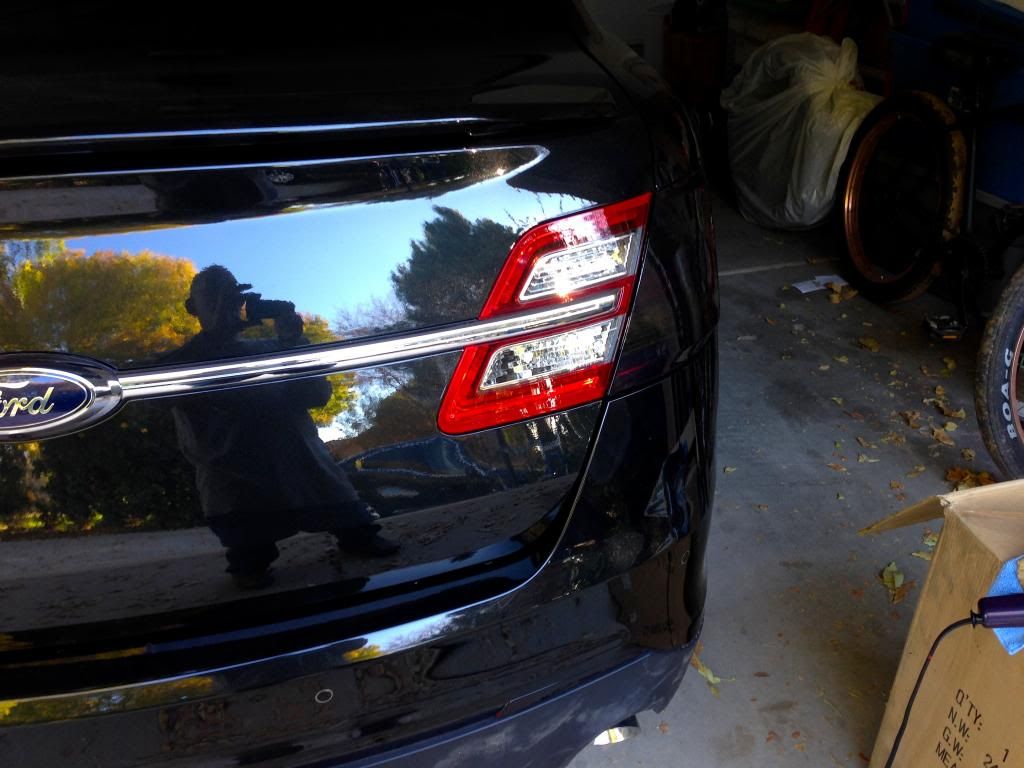
3. I stayed on the right side and started the tail light. The first pic lets you contrast the color change between the outer part and inner part. I finished the right tail and did the left reflector. This gives you a side to side comparison.
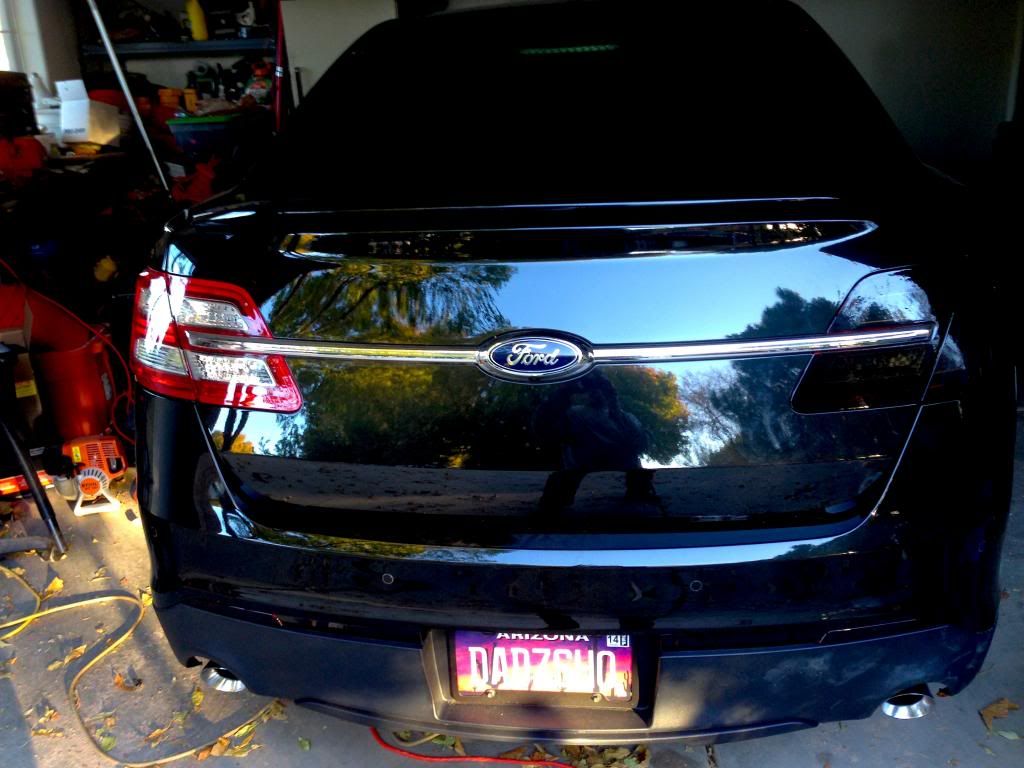
4. These daylight shots show the lights, flashers, and BU lights on with only the right side filmed.. remember this film blocks 30% of light. Thanks to mj who gave me a deal on the ultra bright LED BU lights.
...lights and flashers on...
.....Now lights, flashers, and BU lights on... still only the right side done....
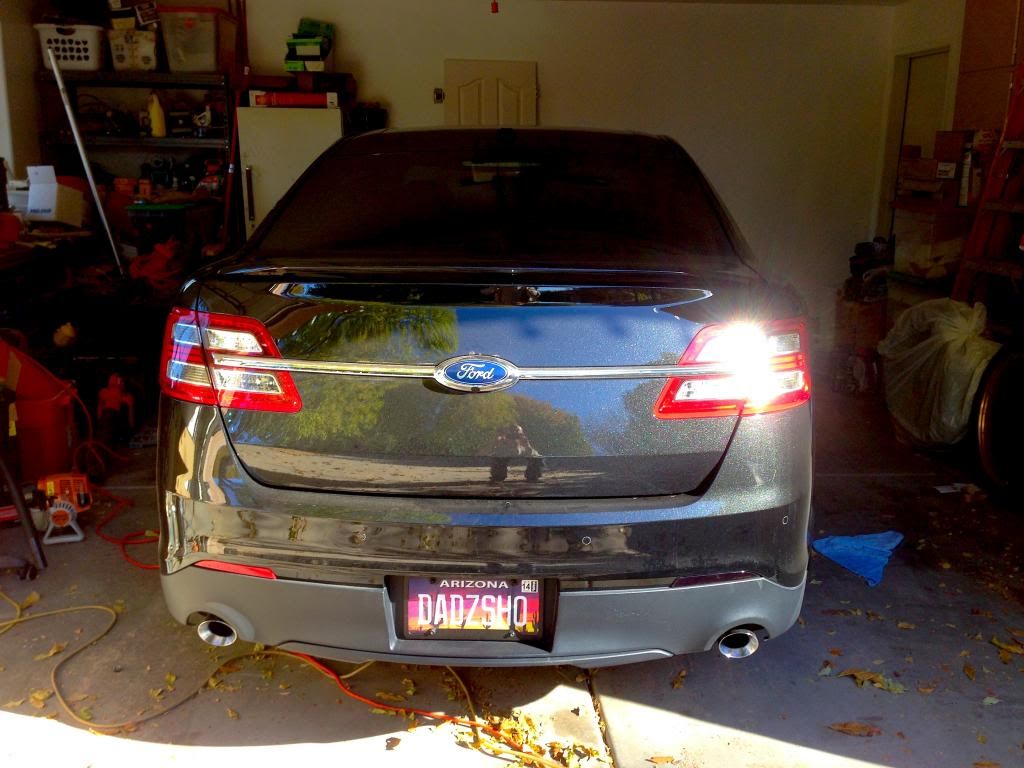
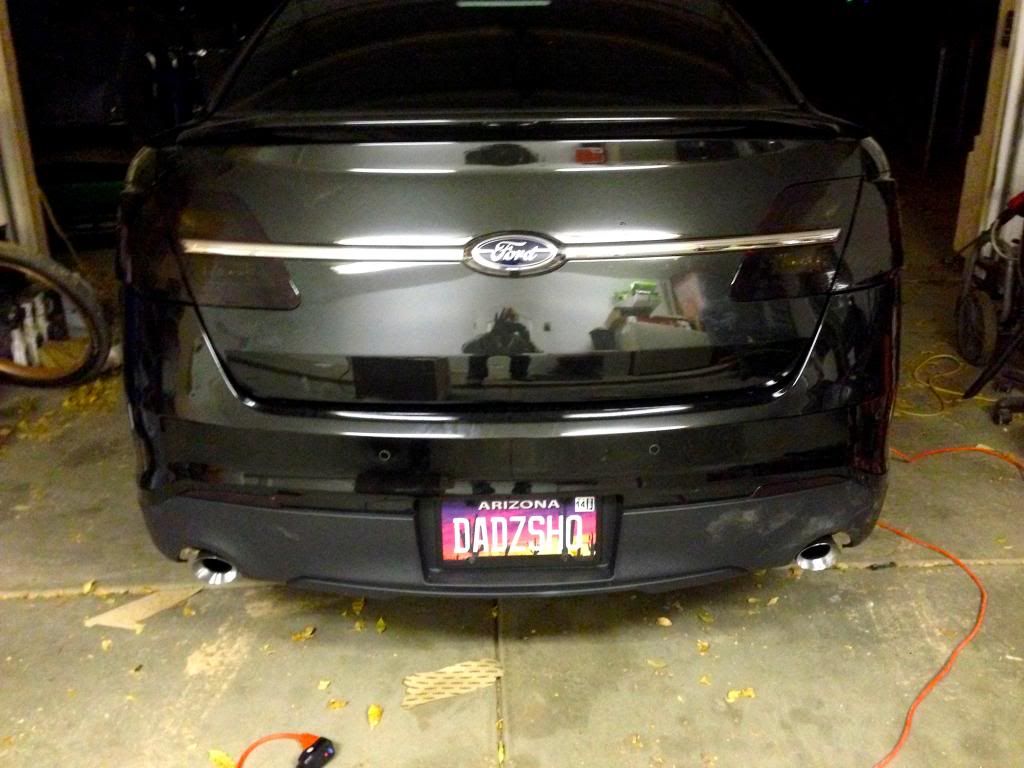
5. Here's the rear exterior lighting completed... yea, it got dark while I was wetting, heat gunning, using the squeegee... then peeling it off to get it better again and again.... a little tedious and best done without distraction.
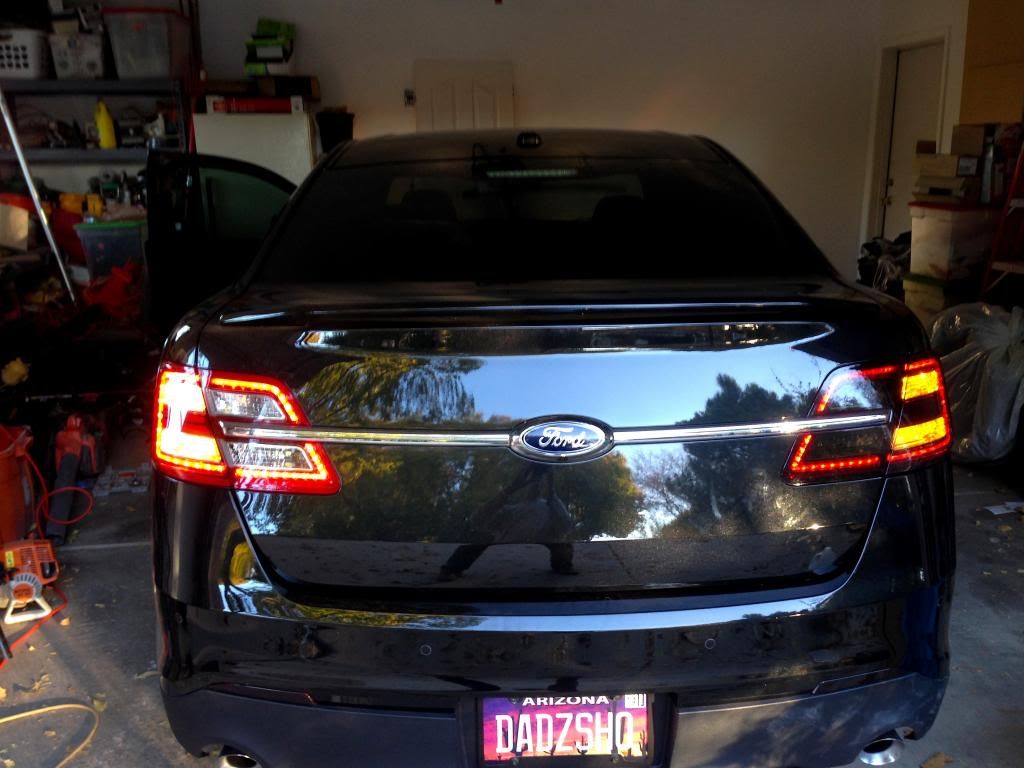
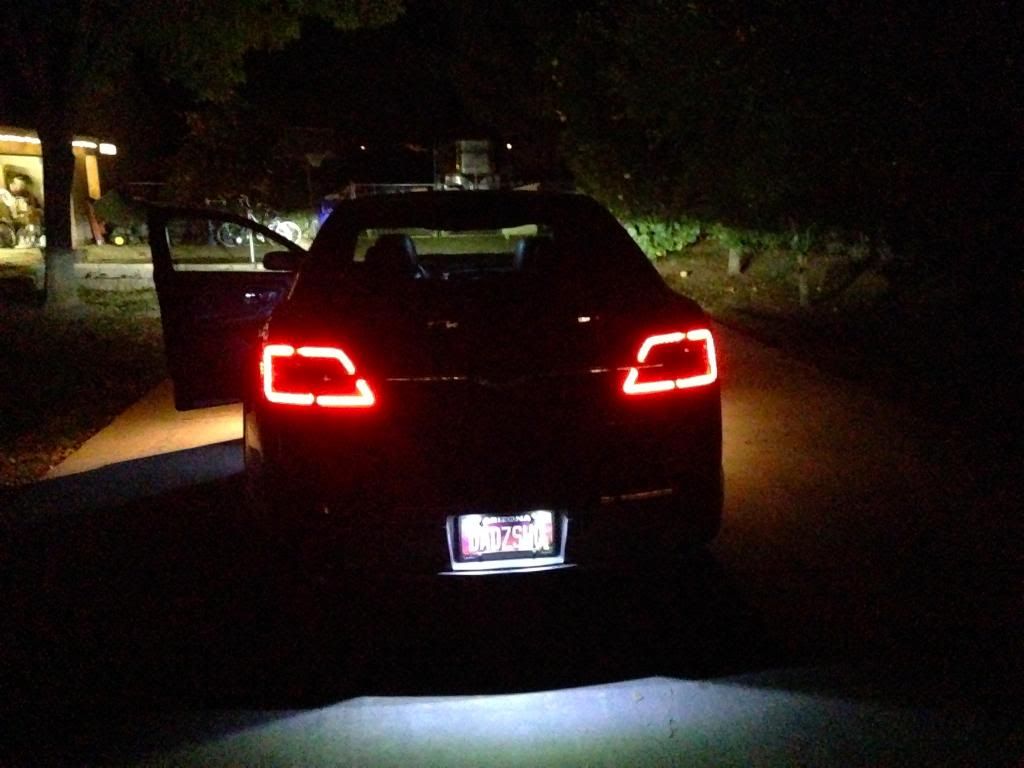
6. Here's a few nighttime shots of the completed job on the rear of the car with lighting
......tailights at night on the driveway......
.......Brake lights with headlights on in the dark garage....
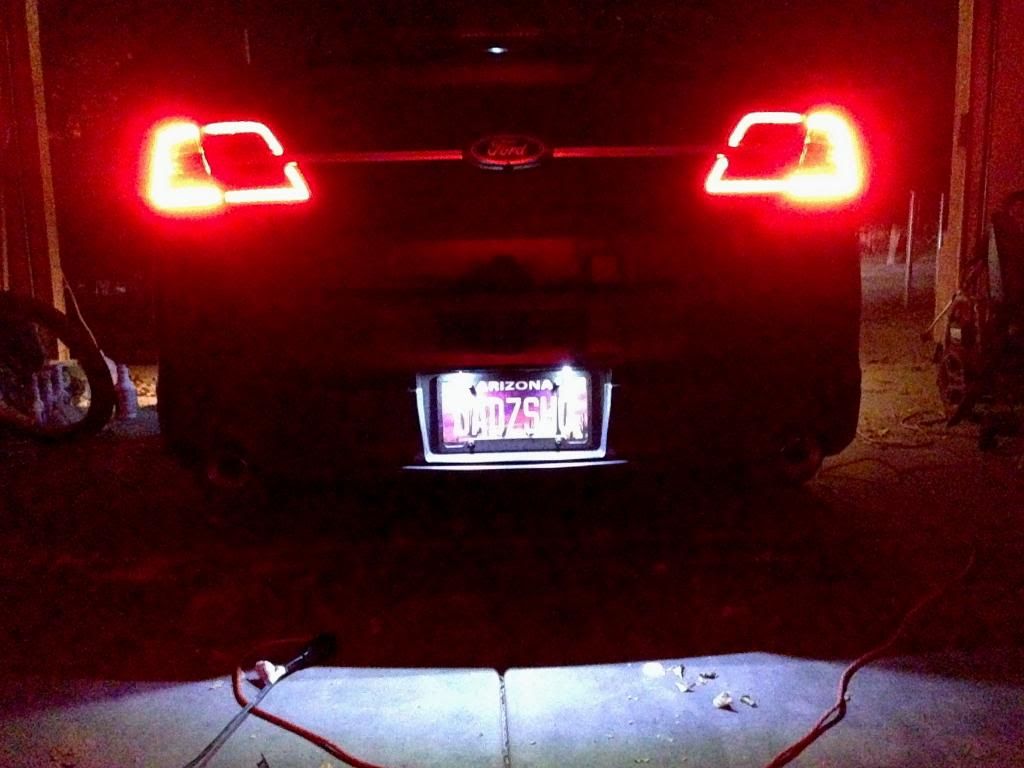
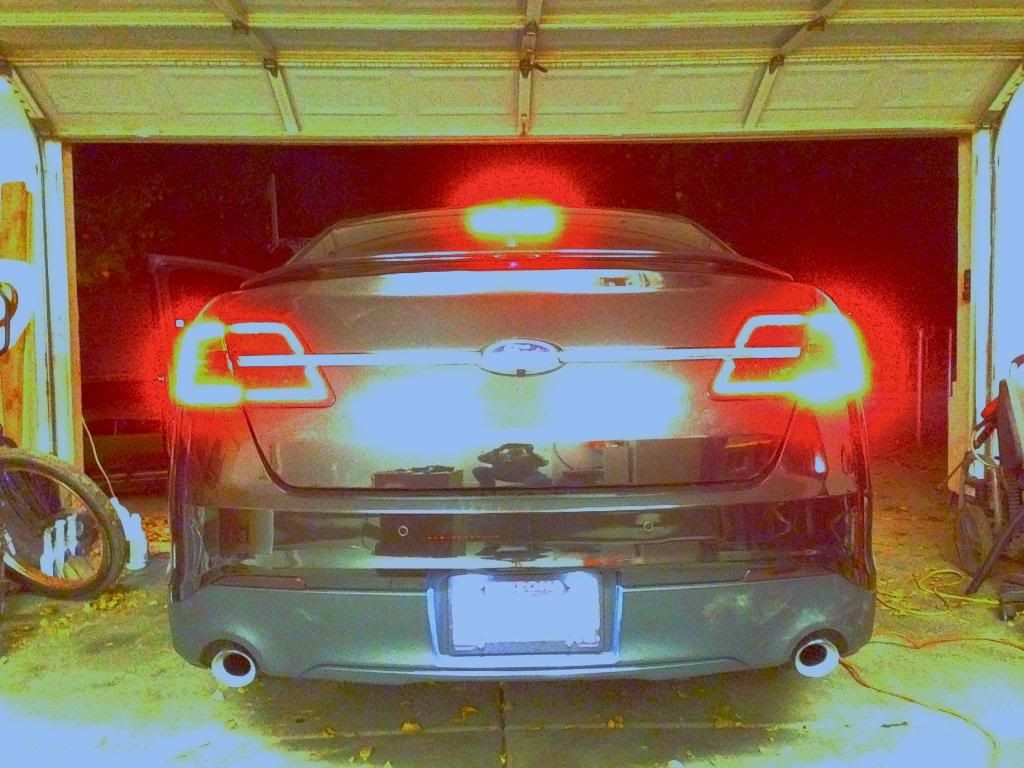
.... This is not a good pic, BUT it allows you to compare the third brakelight with the tails I just filmed. All the lighting in back is LED. I think plenty of light for safe visibility is there.
Tomorrow I'm putting Gunsmoke tint on the headlights (1 shade lighter than the tails and transmits 85% of light).
As soon as they get here, Monday i'm promised, I'll be adding hi-power LED amber front side-markers (300 lumen) and V3 Triton 5K LED switchbacks for the front turn signal (600 lumens... with user configurable option to dim the white part of the switchback by 50%... we'll see if I get flashed.
800 lumen LED puddle lights are on the way too. So there'll be new pics from time to time that let you compare stock with LED and tint on the front.
Finally I've ordered a custom LED projector for under the hood lighting.,.. A big White 40" circle with SHO in black projected on the hood blanket should provide enough light.
Hope this was of some use to everyone who actually got this far... LOL

