BLUF: Contrary to popular belief by people whom have never tried to fit these pieces yet insist upon stating things as fact, the front brakes from the 2013+ Taurus will work on the 2010-2012. Makes it a great and easy upgrade. I don't know the specifics as to when the brakes changed, but I think it was the 2013+ PP and all 14+ had 13.8" rotors.
Some background: I have a 2011 SHO and I haven't really posted on here since I'm not really modding my car too much. In an effort to improve the weaknesses, mainly brakes, I have been researching all upgrades for the 2010-2012 (TCE, simply making my own Wilwood kit, or fitting the newer if it will work). I did the 2013+ Master Cylinder and Booster about a year ago and that helped, but I have overheated 3 sets of stock brakes (covered under warranty) in the first 3 months of owning the car. Upgraded to Powerstop rotors and ceramic pads, which helped the higher temp, but still would get too hot. Finally, I ended up finding the front rotors and brackets for the 2013+ really cheap and decided to give them a test fit. All of my searching was done using the 2014 MY to ensure I was getting everything correct. After finding the bracket fits right on with the correct clearance on the rotor, I ended up looking for the rest. Found the rest at RockAuto.
Size comparison 10-12/13+:
Front rotors: 12.8"(325mm)x1.1" / 13.8"(350mm)x1.25"
Rear rotors: 13"x0.4" solid / 13.5"x.75" vented
Caliper difference is negligible. Piston size is the same 47.5mm (x2) front and 43mm rear.
So here is the breakdown of the parts, tools and a how to guide.
*DISCLAIMER* I am not liable for any injury and/or damage resulting from improper installation and/or servicing of the brake system. Ensure you test your brakes at low speeds away from busy streets and gradually increase speed for proper pad bedding procedure.
The parts are not for the PP, but are designated as "Heavy Duty". The PP parts hare harder to find. I find these to be just as good, if not better.
Parts (All motorcraft except rotors and pads)
Calipers: BRCF208/BRCF209
Caliper Brackets: BRBC28/BRBC29
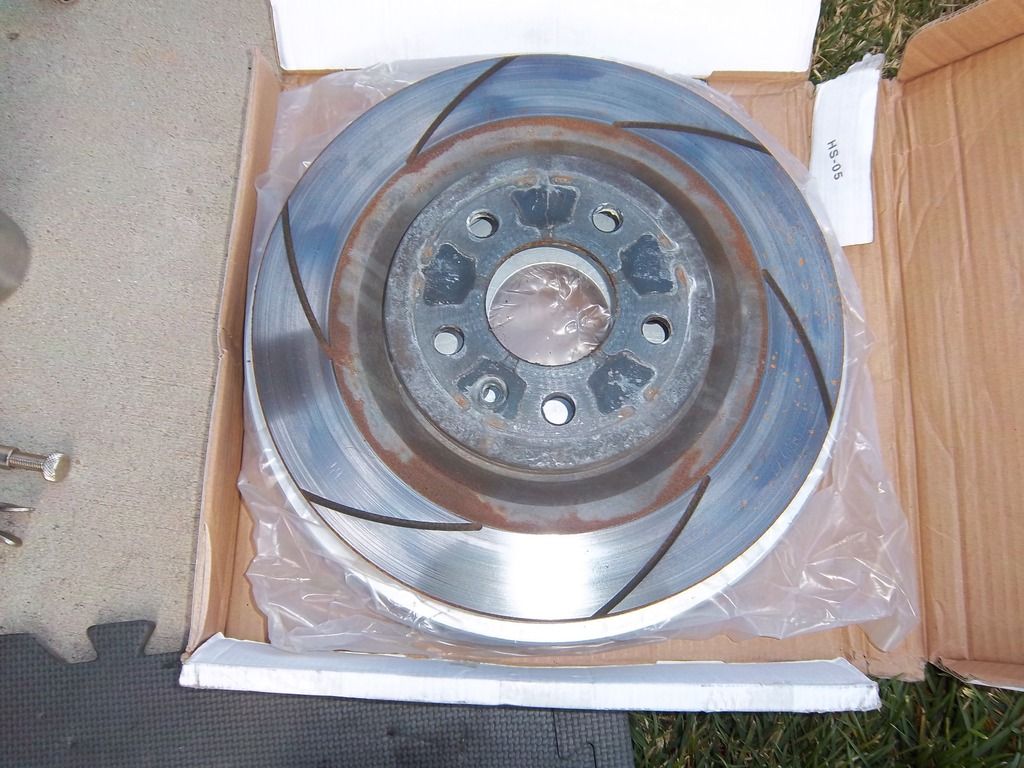
Rotors: Raybestos 680982
Pads: Raybestos EHT1611H
Hoses: BRHF129/BRHF64
Brake fluid: enough for the entire system if you would like
Tools (in order of use)
19mm socket (lug nuts)
17mm socket (caliper pin bolts)
Cut up metal hangar or something to hold the caliper
18mm socket (caliper bracket bolts)
Torx T-40 (rotor retaining bolt)
8mm wrench and socket (brake shield bolts)
A bunch of rags (pretty obvious why)
13mm tube wrench (hard line to brake line nut)
10mm (brake line bracket bolt)
14mm (banjo bolt)
10mm closed end wrench (bleeder)
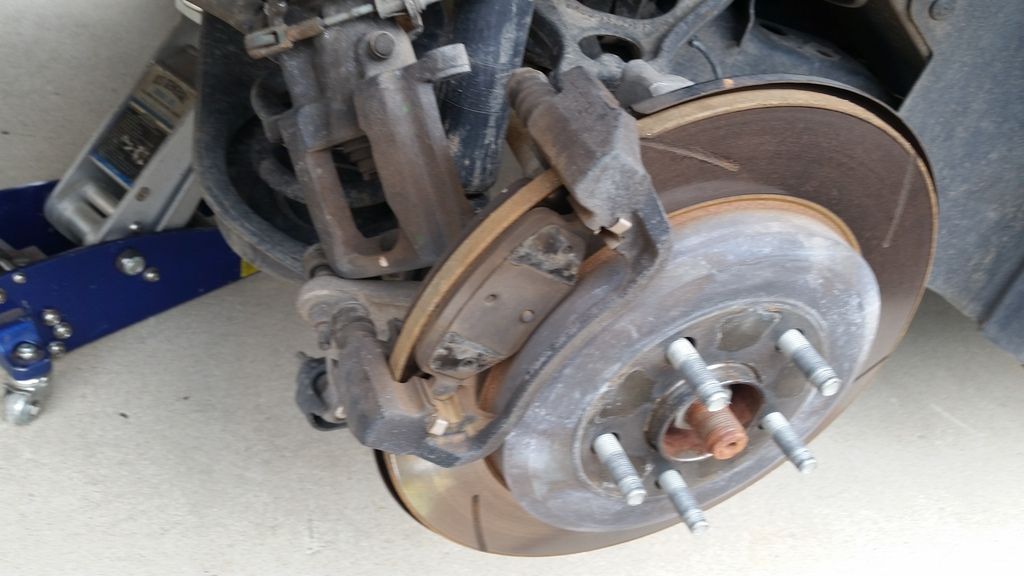
Obviously jack the car up and support it properly with jack stands. Remove the wheels (19mm socket) and look at your inadequate brakes for a minute. I turned my wheels in the direction of the side I am working to make room for a breaker bar.
Start by removing the caliper pin bolts (17mm).
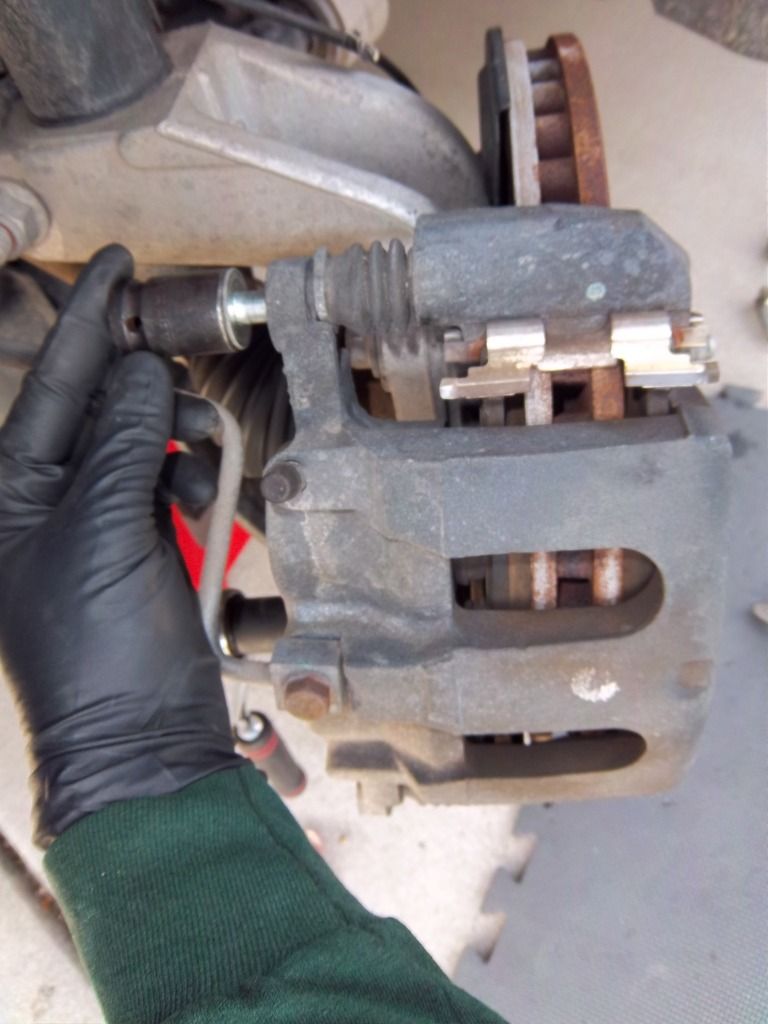
Remove the caliper off the pads and take your metal hanger (or whatever you want to use to hold the caliper up) and secure it so it doesn't hang...makes it easier to remove the hose assembly later. Remove the pads.
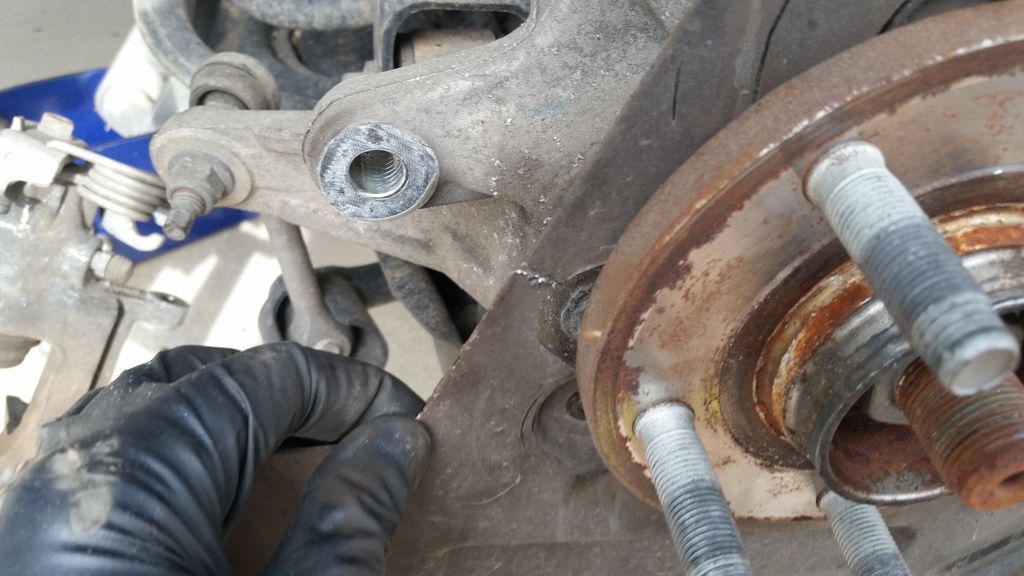
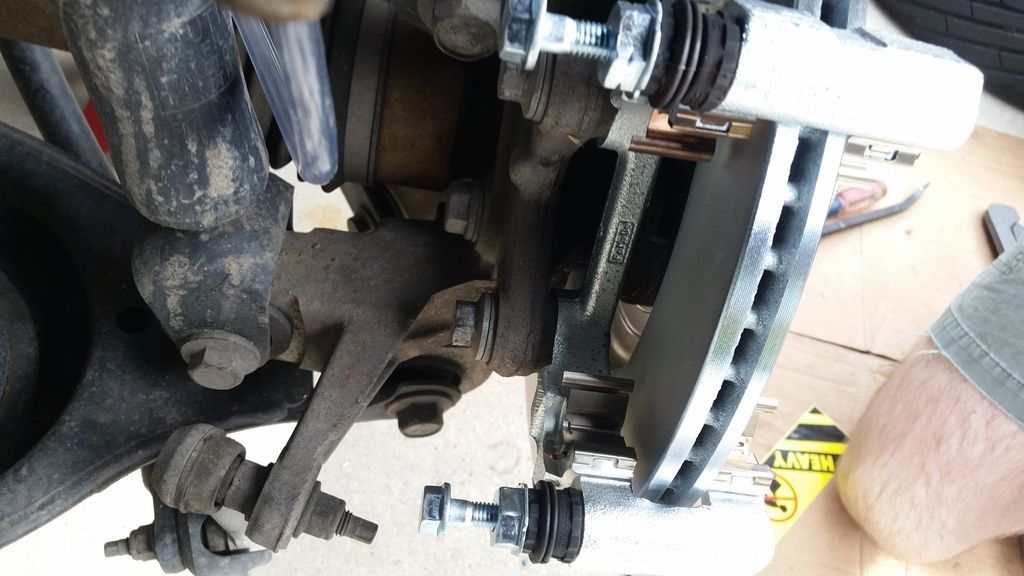
Next remove the caliper bracket bolts (18mm) and pull the bracket off.
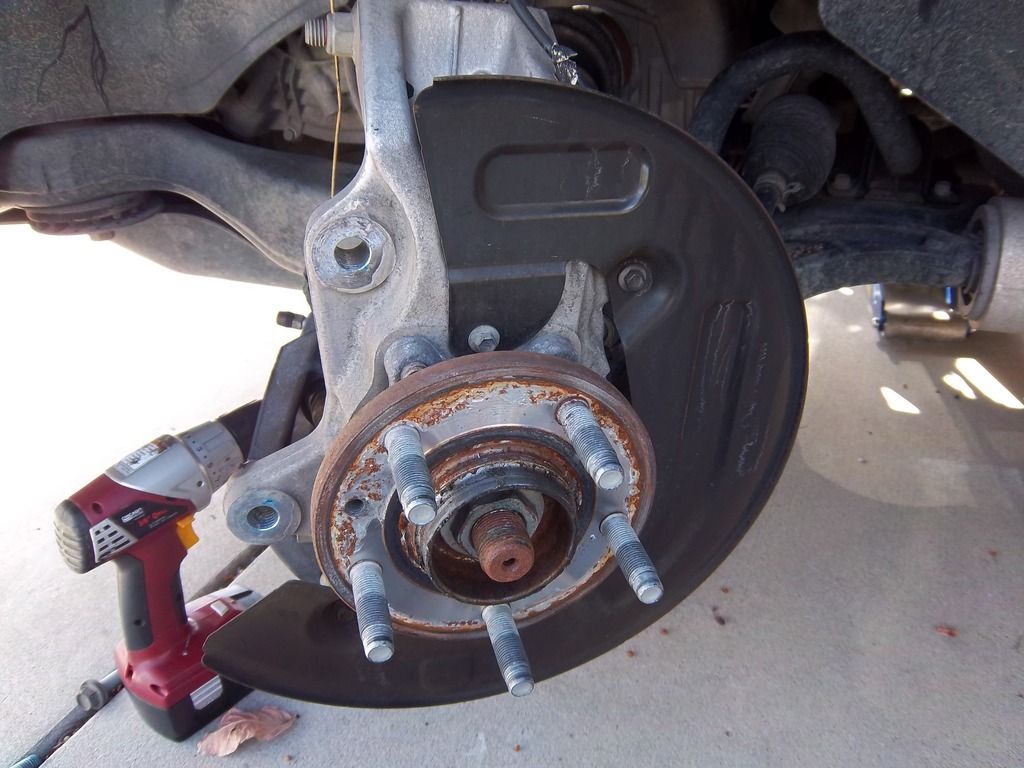
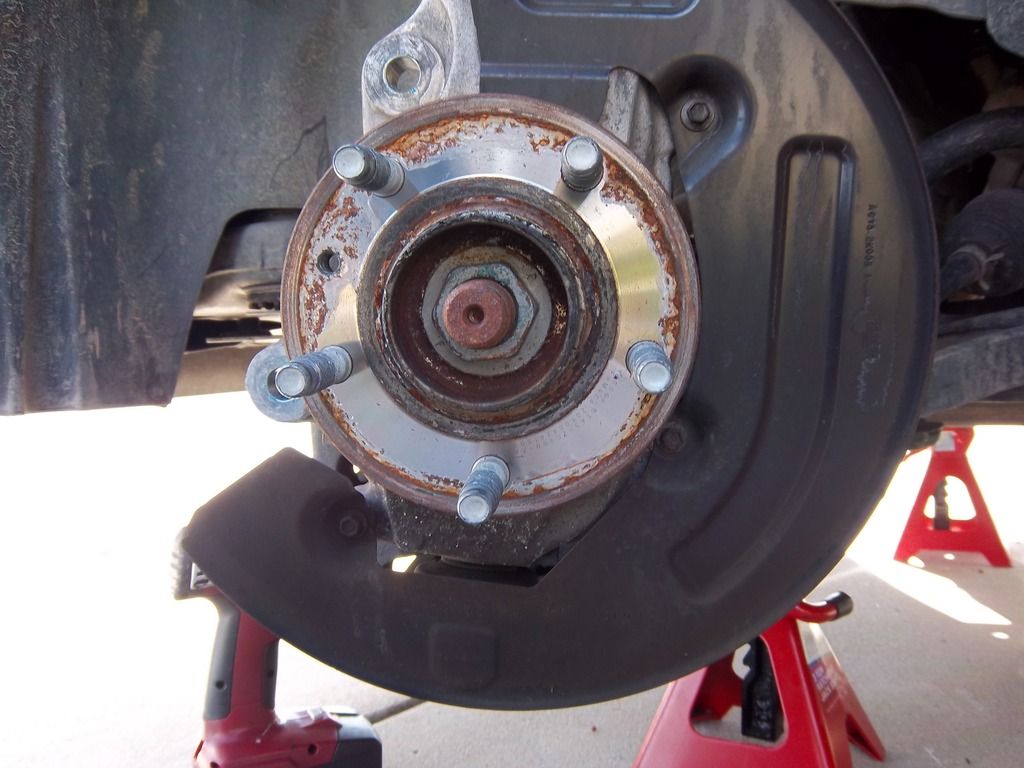
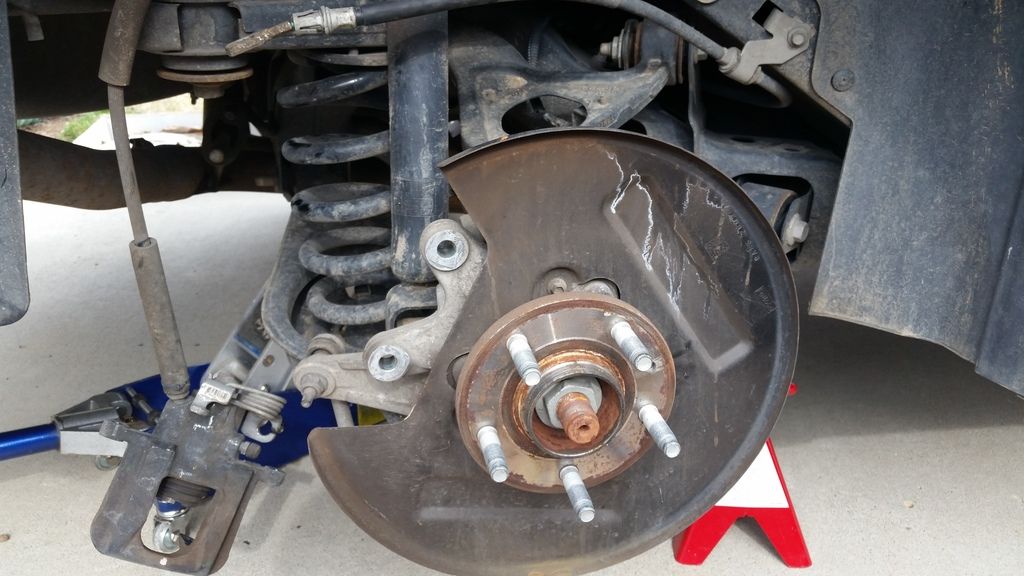
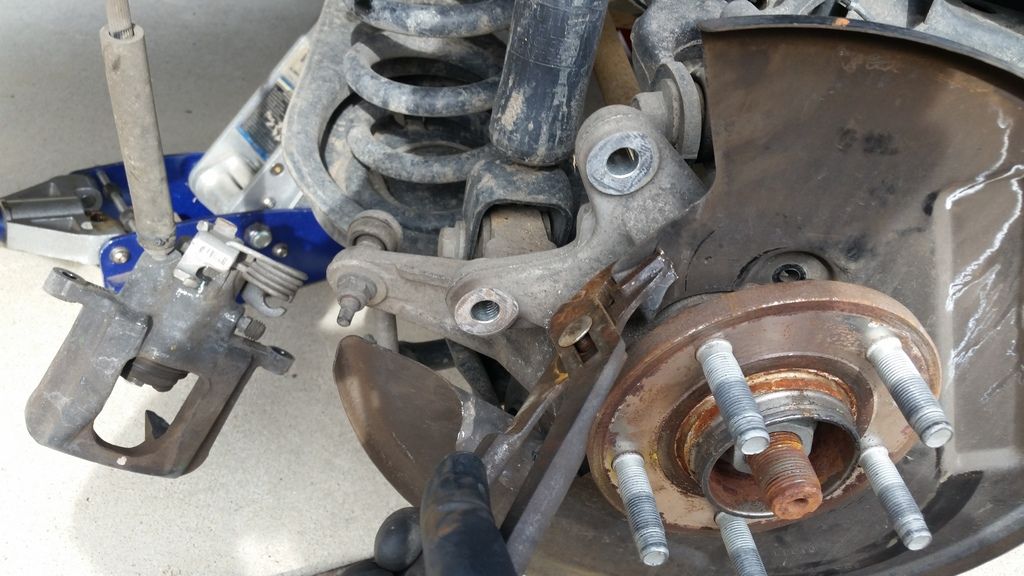
Remove the rotor retaining bolt (T-40) and take the rotor off.
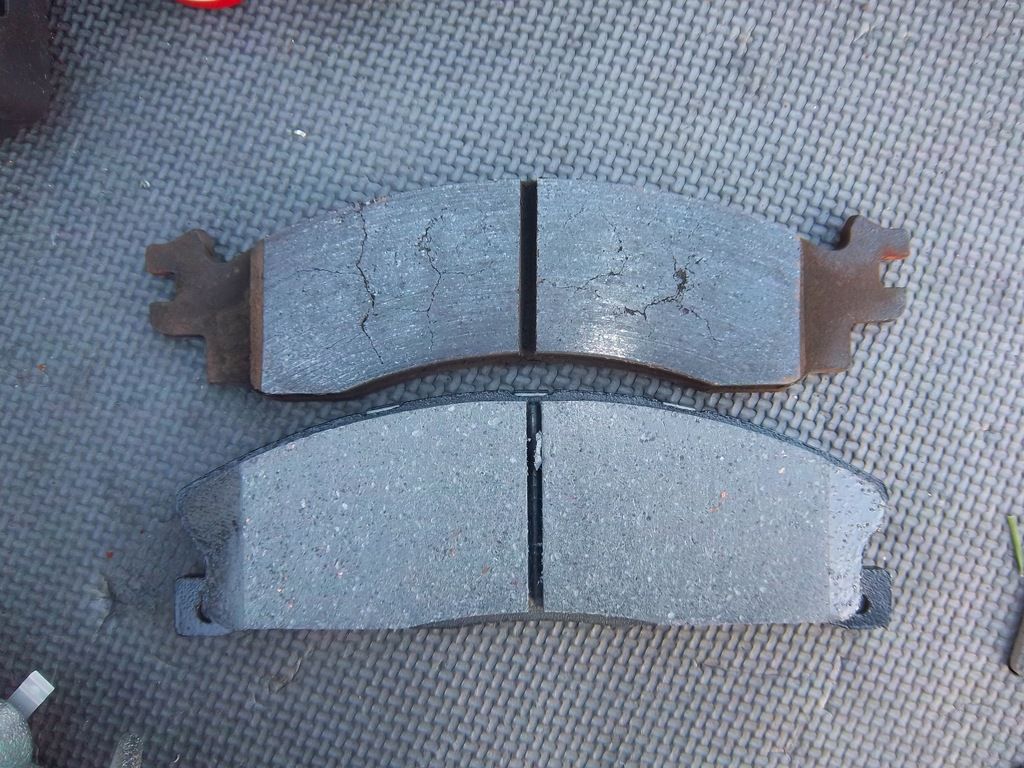
If you want, compare the size of the rotors. Just a good visual. You can also see the nice discoloration from the heat and some nice glazing.
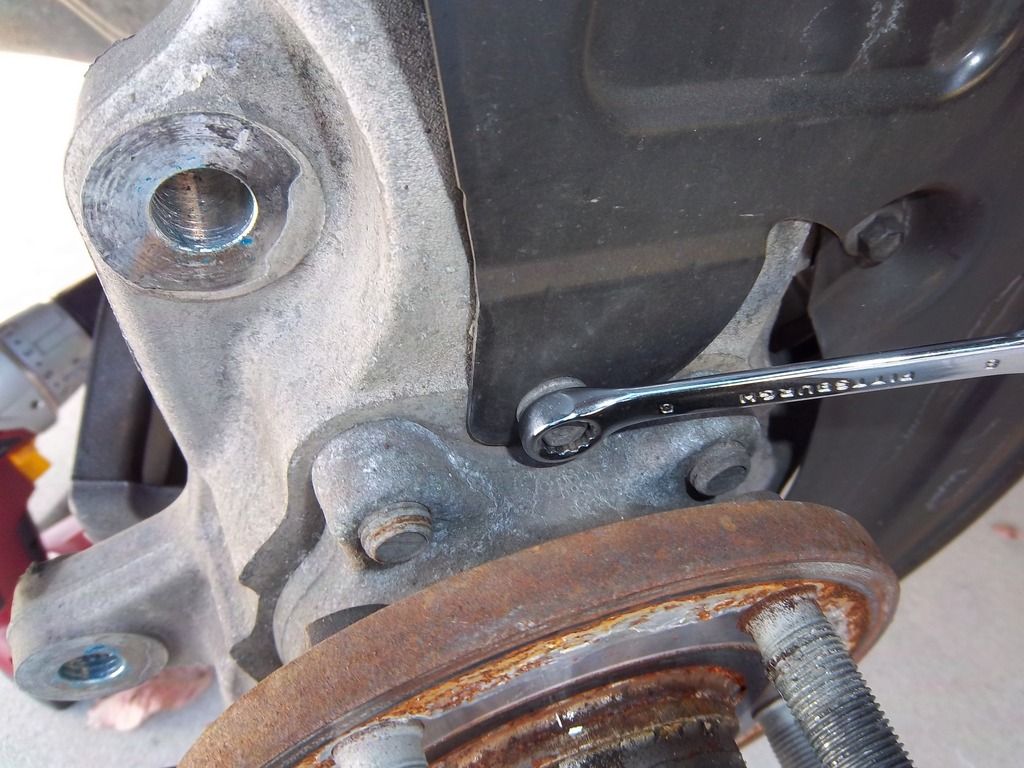
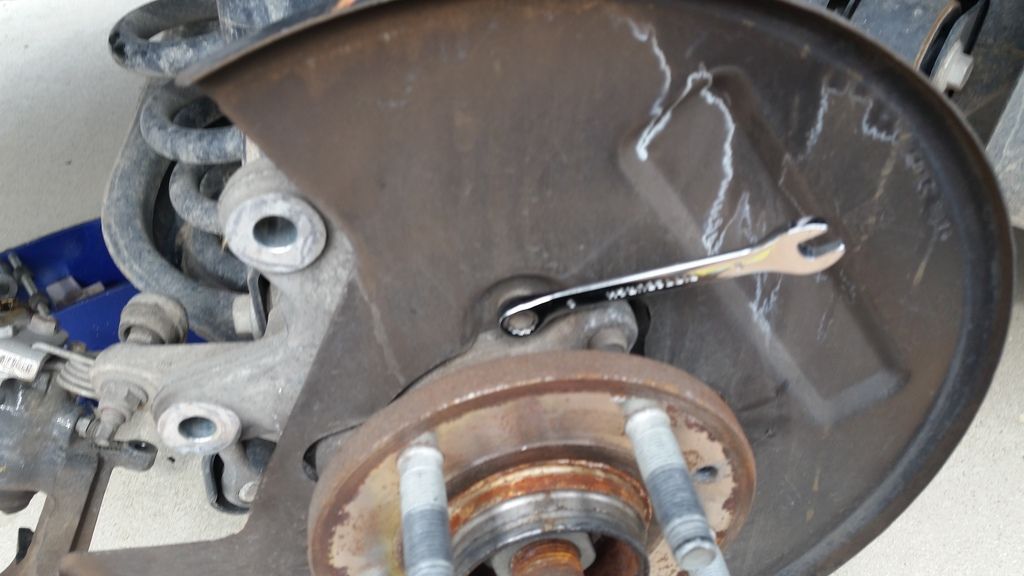
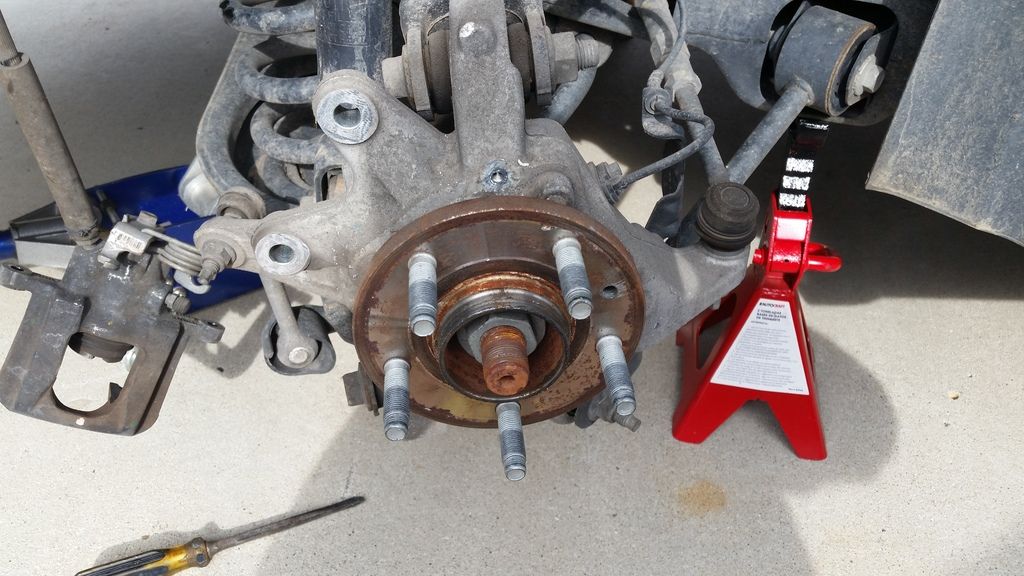
Remove the brake shield by using the 8mm wrench on the top bolt as a socket won't fit. There's 4 bolts total.
A nice ratcheting one is best, but I found mine after I got done.
Clean up the hub mating surface. I use anti-seize on the hub. Ensure you clean up the stud threads if you get any on there.

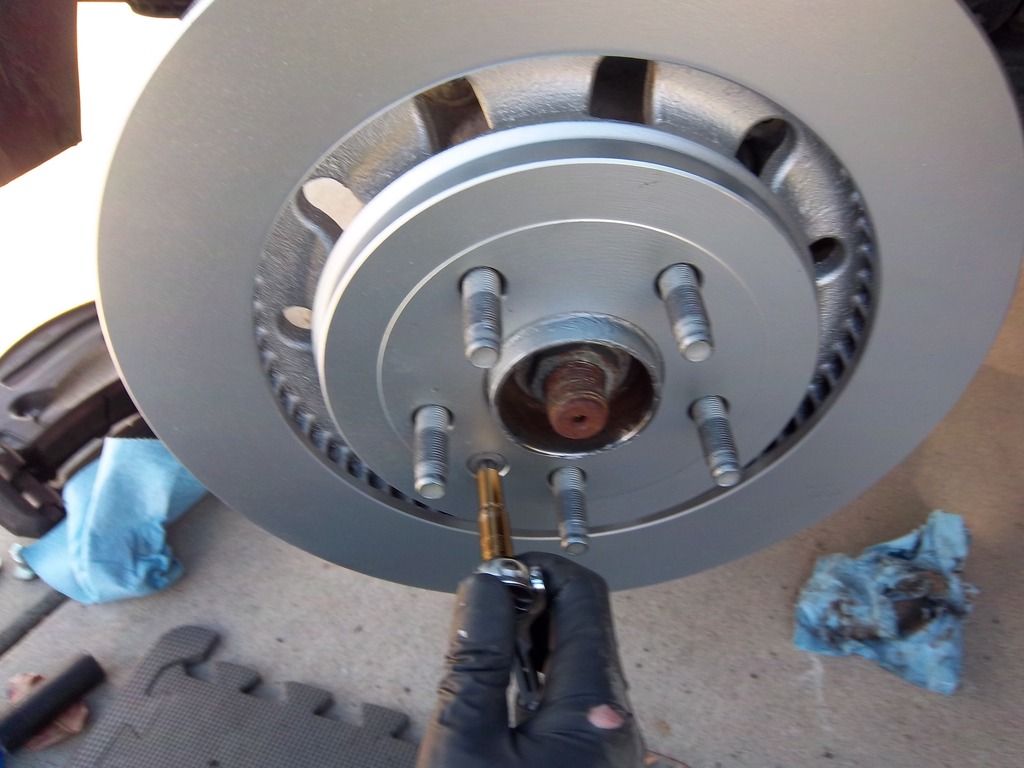
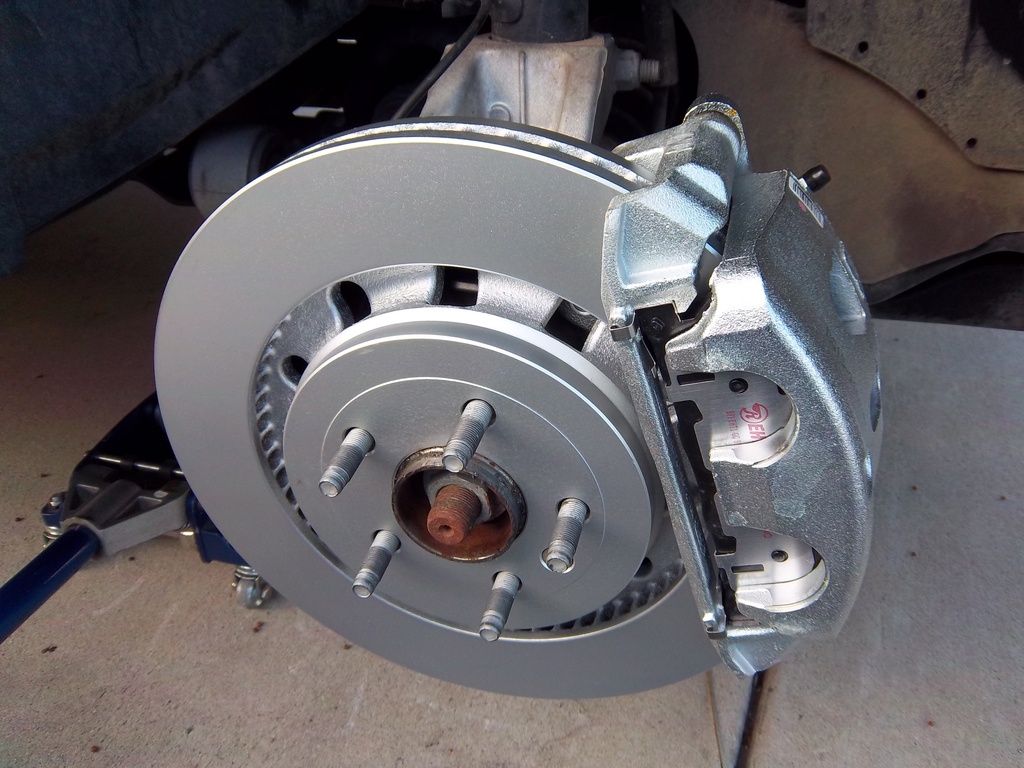
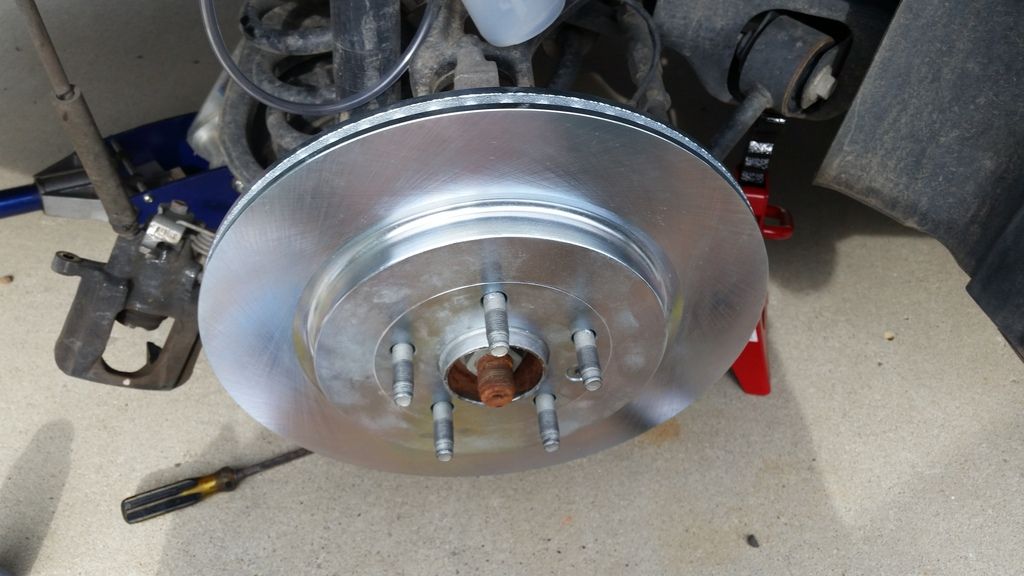
Install the rotor and secure it with the retaining bolt (T-40)
Put the new caliper bracket on (18mm). I torqued mine to 90ft lbs. That figure coincides to every other M12x1.75 bolt I have ever dealt with.
Comparison of the pad size.
Install the pads. Ensure you install the stainless steel shims/tab things that come with the new pads first. Some pads are side specific (inside/outside). Mine had different bumps (as shown below) and would interfere with the caliper on the outside so it wouldn't be flush.

Remove the 2 pins from the caliper brackets and leave the dust boots attached to the bracket. If they are not installed, shove some grease into the hole and install the dust boots first as they are secured internal to the bracket, not externally like most. Grease up the pins and install with the one that has the rubber bushing on top. Again, I torqued these to 90ft lbs since they are M12. If anyone has the correct torque specs, go ahead and post them.

Take your rags and place them on the control arm right under the hose connection. Helps grab the brake fluid.
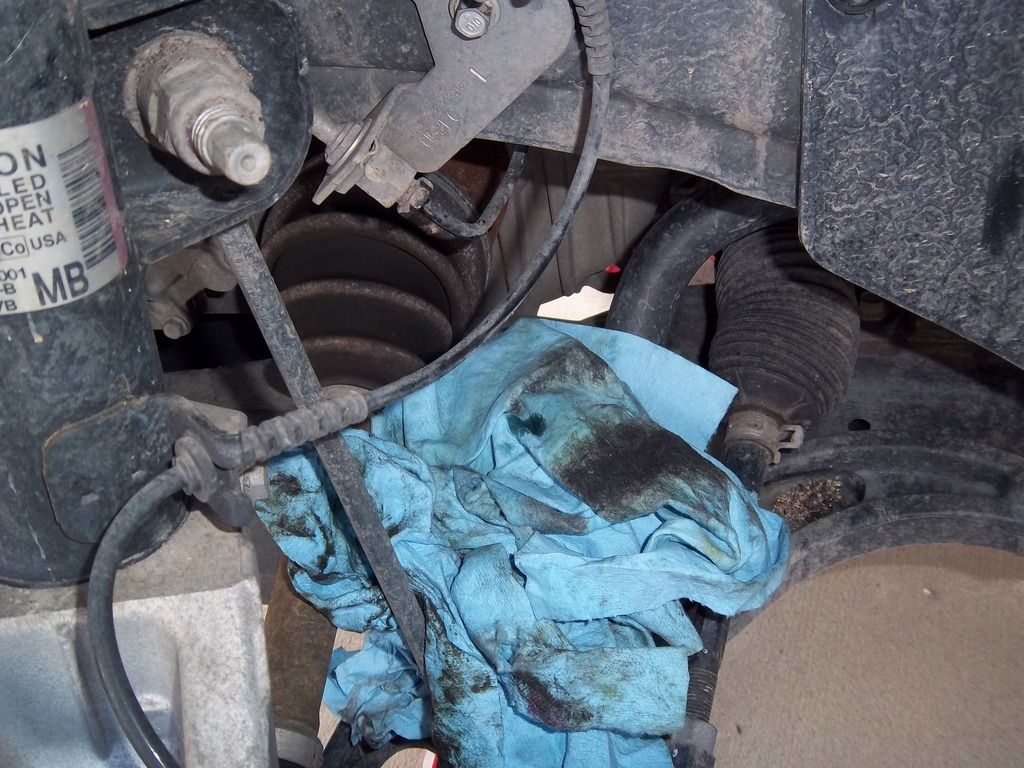
*Top off your brake fluid reservoir*
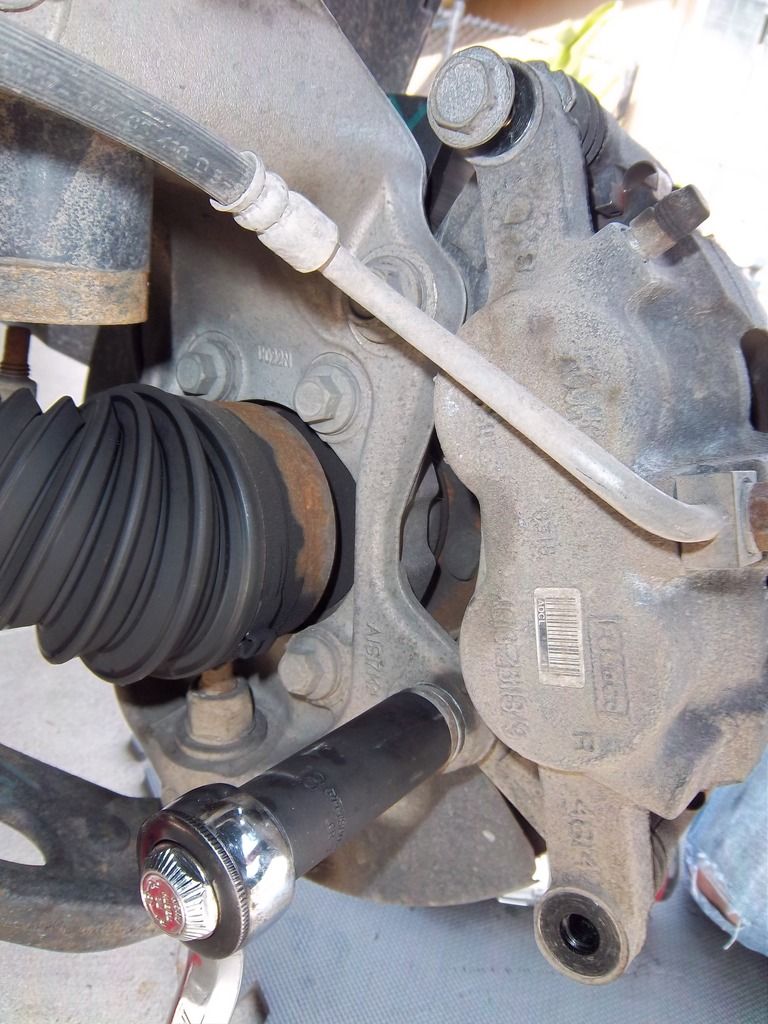
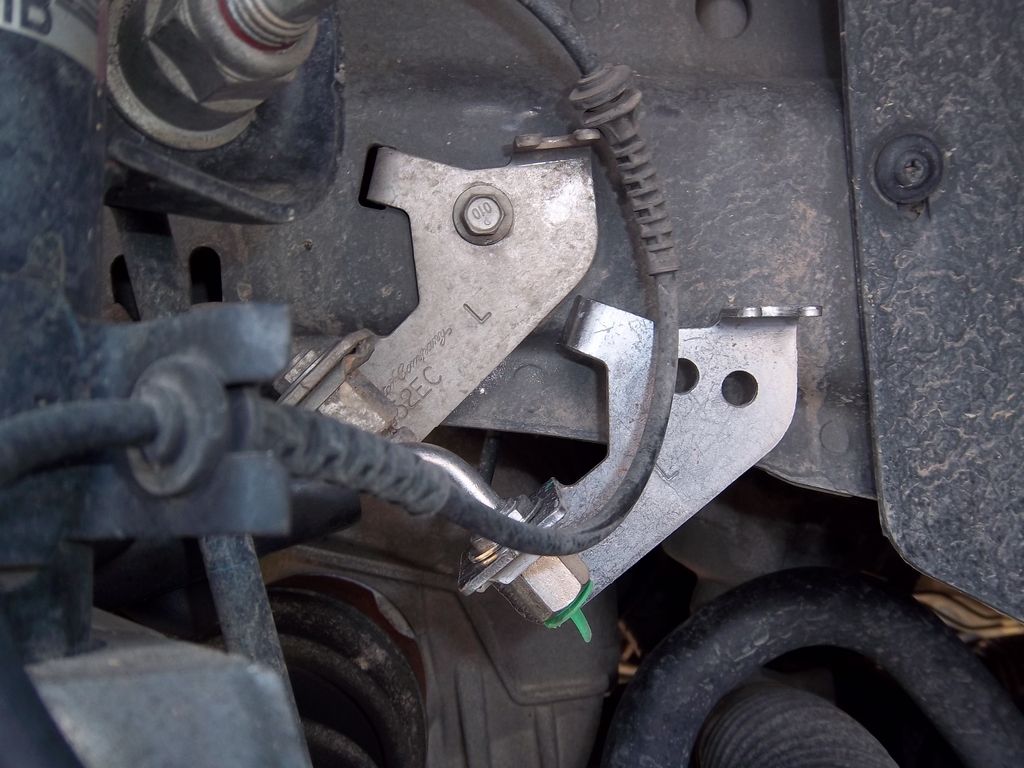
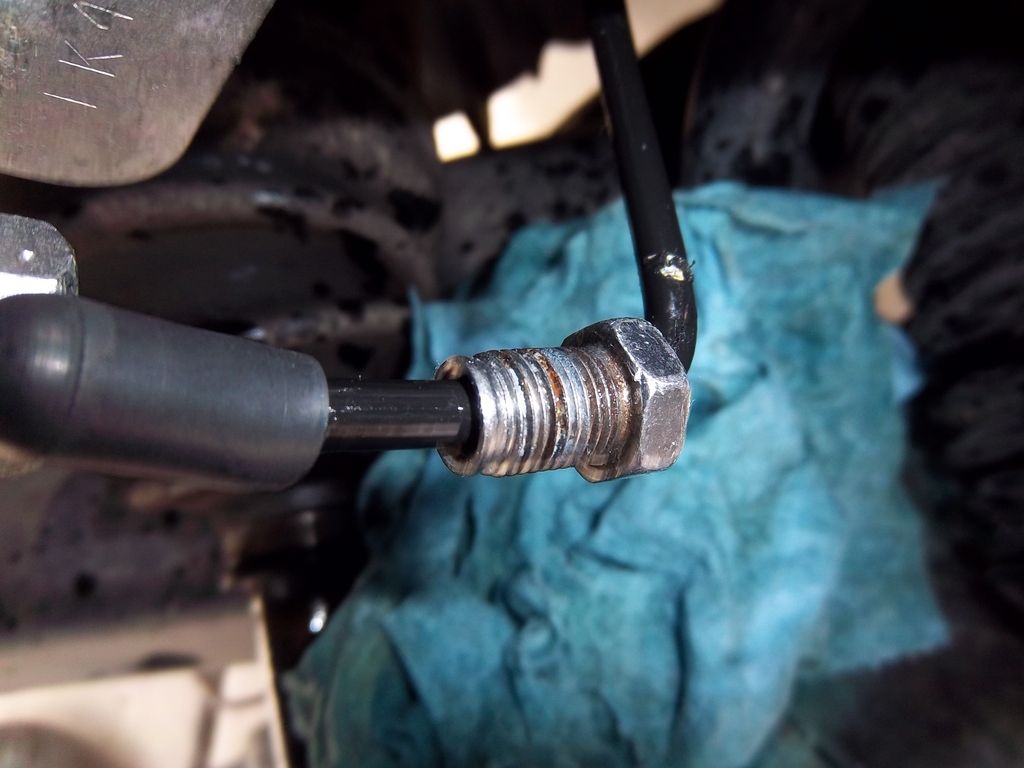
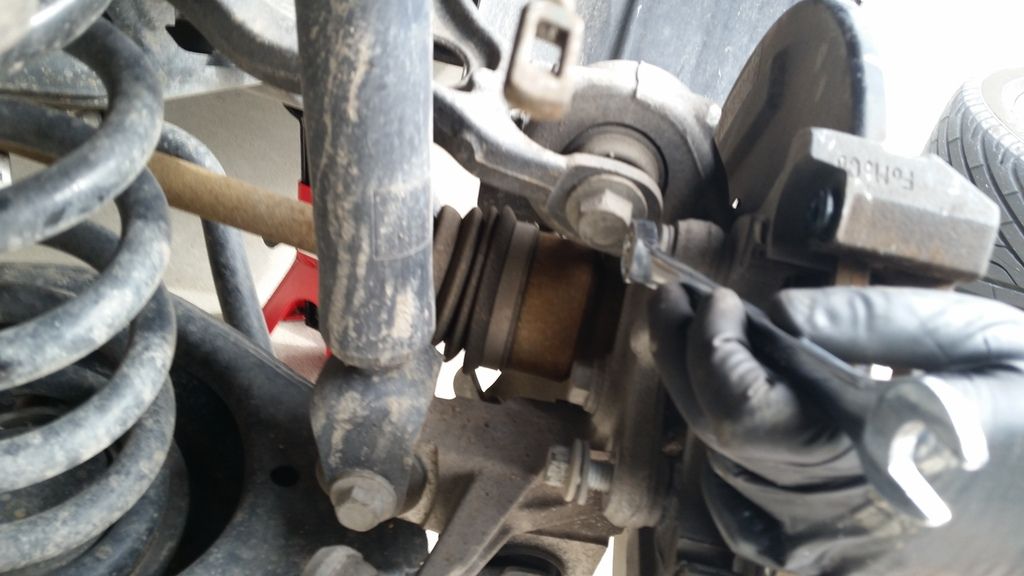
Pop the ABS sensor wire out of the bracket. Take the 13mm tube wrench and loosen the fitting. You can remove it if you want, but I simply loosened it. Next remove the hose bracket bolt (10mm socket). I installed the new hose/bracket leaving it slightly lose to be able to move it to easily screw the tube nut in. Then I finished removing the old hose and quickly connected the new hose. Tighten up the hose bracket bolt and then finish tightening the tube nut.
One issue I ran into was the left side tubing nut had flared when it was installed. This made it difficult to remove as it was large than the threads. It also made it impossible to reinstall. I capped off the lines and was able to take a file and rotated the fitting while I held the file against the flared out part. Took a while, but worked nicely.
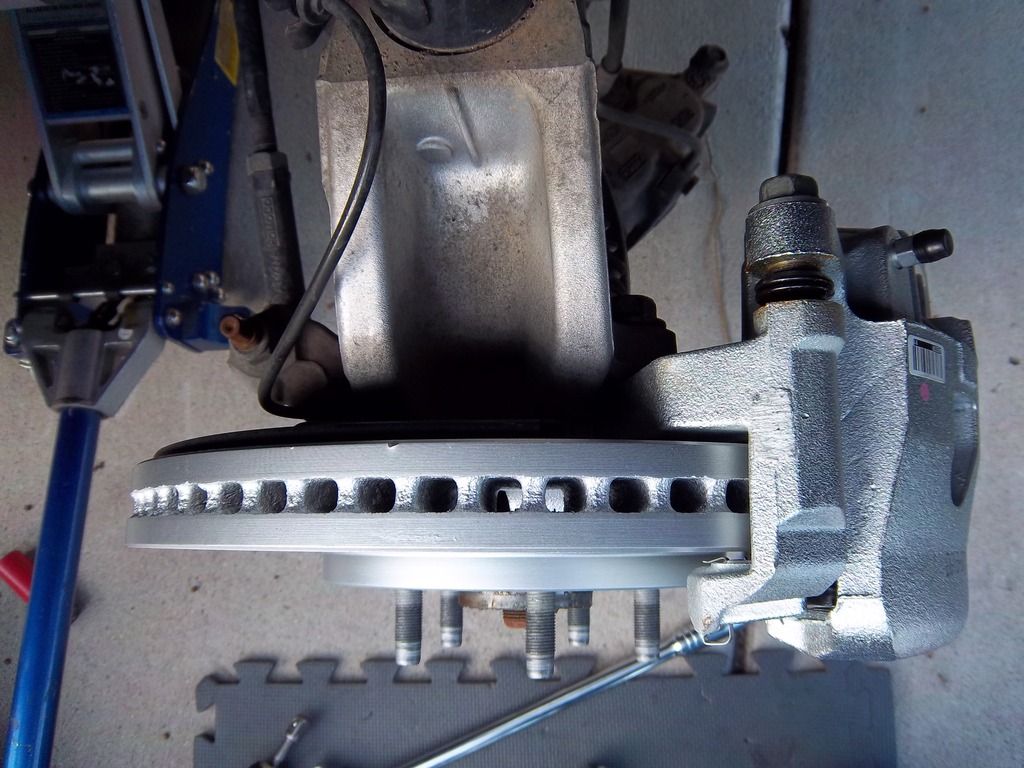
Connect the hose to the caliper (14mm). I didn't connect the hose to the caliper to allow it to gravity bleed. That's personal preference. I also left the bleeder open and connected my bleeder hose/container to gravity bleed. Clean up your rags and finish bleeding the brakes.
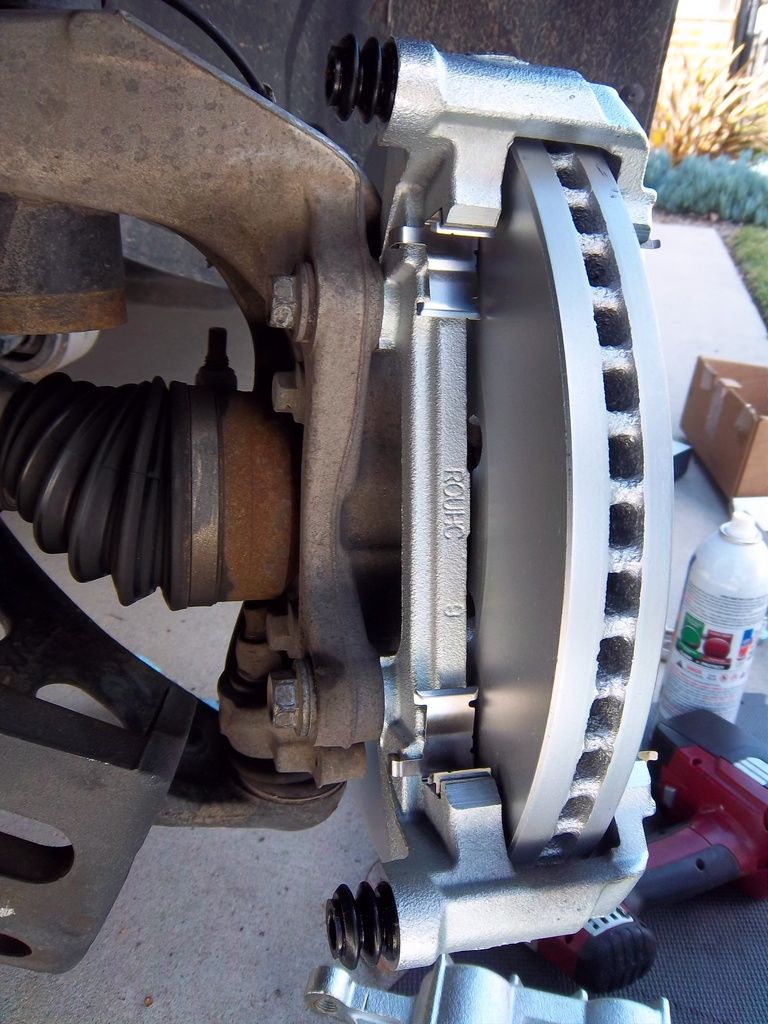
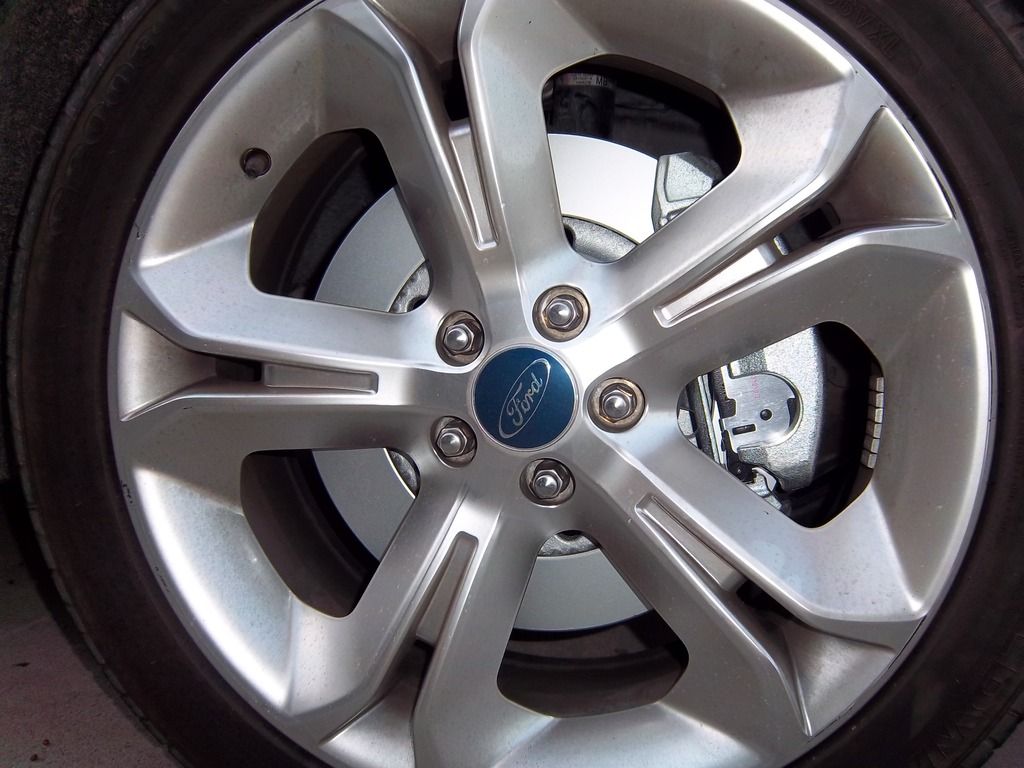
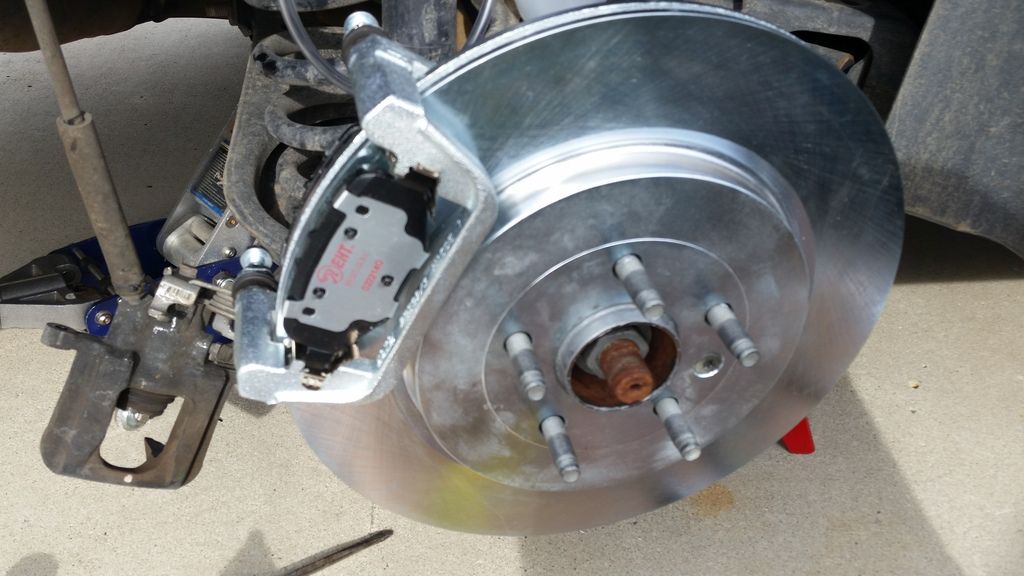
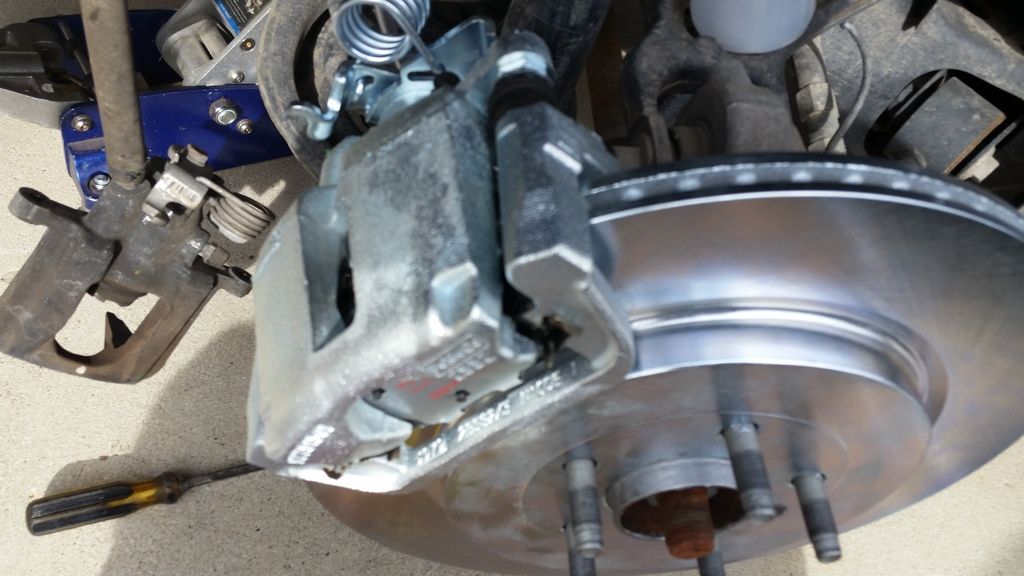
Here's the result. The fronts fit perfectly. You can reuse the front hoses if interested, but since mine were original I decided to buy new ones. Everything fits just as OEM.
Now I finally got the rears done and some time to post about it.
Parts
Calipers/brackets: got used off ebay. disassembled, plated, rebuilt.
Rotors: Ford BRR253 (also sent to get plated)
Pads: Raybestos EHT1612H
Hoses: Raybestos BH382852
Tools (in order of use)
Prybar/screwdriver (or something to remove the p-brake cable)
13mm (caliper bolts)
15mm (bracket bolts)
T-40 (rotor bolt)
8mm wrench (dust shield)
Die grinder or heavy duty tin snips (cutting the dust shield)
channel locks or other pliers
Rags
13mm tube wrench (hard line to brake line nut)
16mm/ 5/8 tube wrench (hose fitting at the caliper)
10mm closed end wrench (bleeder)
First, like the front, lift the car, support, remove the wheels. Then remove the parking brake cable. I used a prybar and a pair of pliers to compress the lever and maneuver the cable end. Then grab your 13mm wrench and remove the caliper bolt.
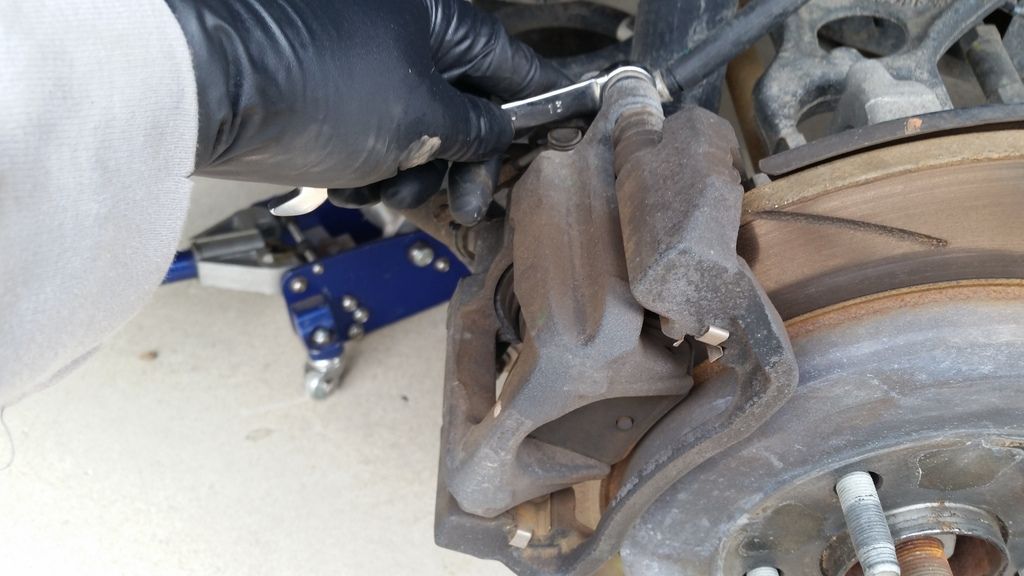
Pull off the caliper
Use the 15mm to remove caliper bracket bolts and pull off the caliper.
Use the T-40 and pull the rotor bolt off, and the rotor.
The 8mm wrench will get the dust shield bolts out. Just like the front.
Now grab your die grinder or heavy duty tin snips and cut the dust shield at the most narrow part.
The pliers/channel locks are used to gradually bend/fold the metal to where you can remove the dust shield.

Now that it's removed, clean up the hub flange and throw some grease or antiseize on.
Install the rotor and rotor bolt with the T-40.
Install the caliper bracket with the 15mm. Torque to ~90ft lbs like the front.
Install the pads, again paying attention to the bumps to make sure they do not interfere with anything. They were different again.
Install the calipers with the bolts (13mm) and torque to ~35ft lbs.
Now, set the rags below the brake hose connection if you want. THere isn't anything underneath, so it's not required. Install the hose onto the caliper first, as it screws in straight. Loosen the tube nut from the hard line to the rubber line and back it all the way out. Then pull the retaining clip and the old caliper will fall down. Put the new hose up and align the tube and tube nut. Install the clip to retain it and screw in the tube nut. Tighten it down. Reinstall the p-brake cable the reverse of how it was removed. Bleed the brakes and you are done.
Let me know if there are any questions. I will follow up with my impressions after I get some miles.

