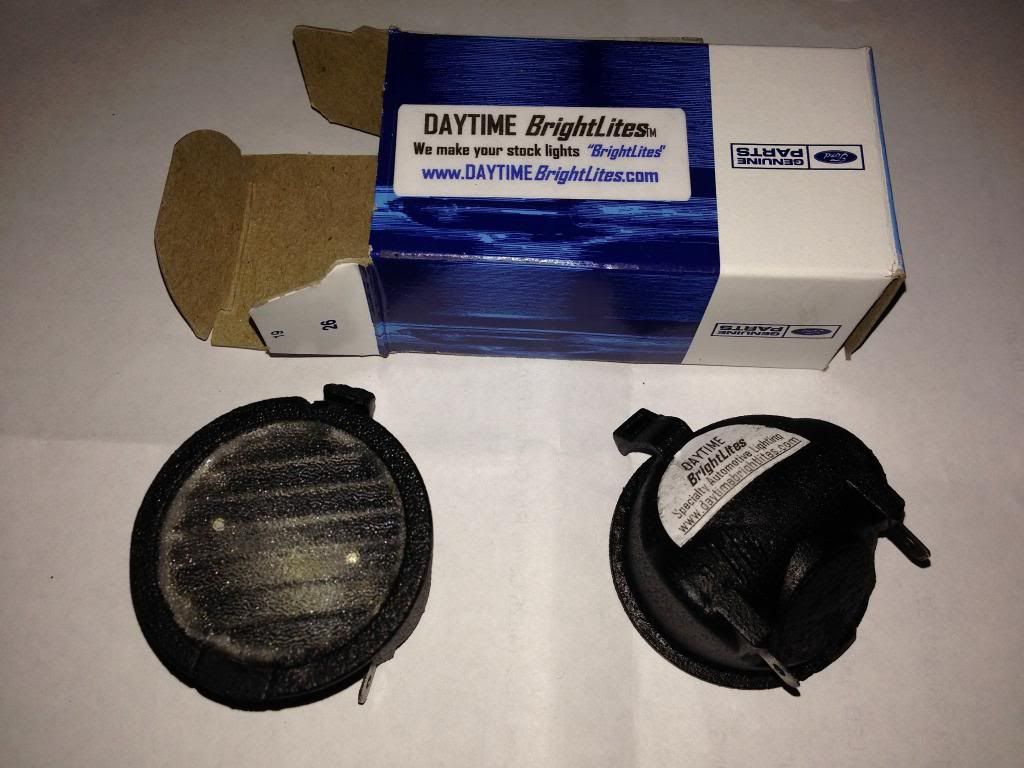
So ... Finally here are the pics on the vLED Triton switchbacks and install. ... But first... When I got home from the horse show today (the other kind of horsepower I participate in!) ... the mailman had left my LED puddle lights. They are Daytime Brightlites, and yes I paid too much, but I had christmas gift cards and they had an 800 lumen puddle lights at a sale price!...Also, I always assume my time is part of the cost and i'd rather drive than solder. The vLED Triton switchbacks you'll see later are 600 lumen. And yes, I can be lazy at times. I won't bore you with the puddle light install... The company put up a video and it's easy. One word of caution, work gently with the plastic retainer clip or you'll break it. Instructions also come in the pack. Basically pop out and pop in, and the less force the quicker it goes... took <5 min with pics.
Here's the pics of them and the before/after pics. Labels are above each pic... all camera settings (my phone) are the same... and it doesn't do well in the dark, LOL. They are
much brighter than OEm. Compare to the LED interior lights as well.
First a pic of what came in the box (also got instructions)
 Now a pic of the stock puddle light on the right side
 Finally, the LEDs on in the left side puddle light
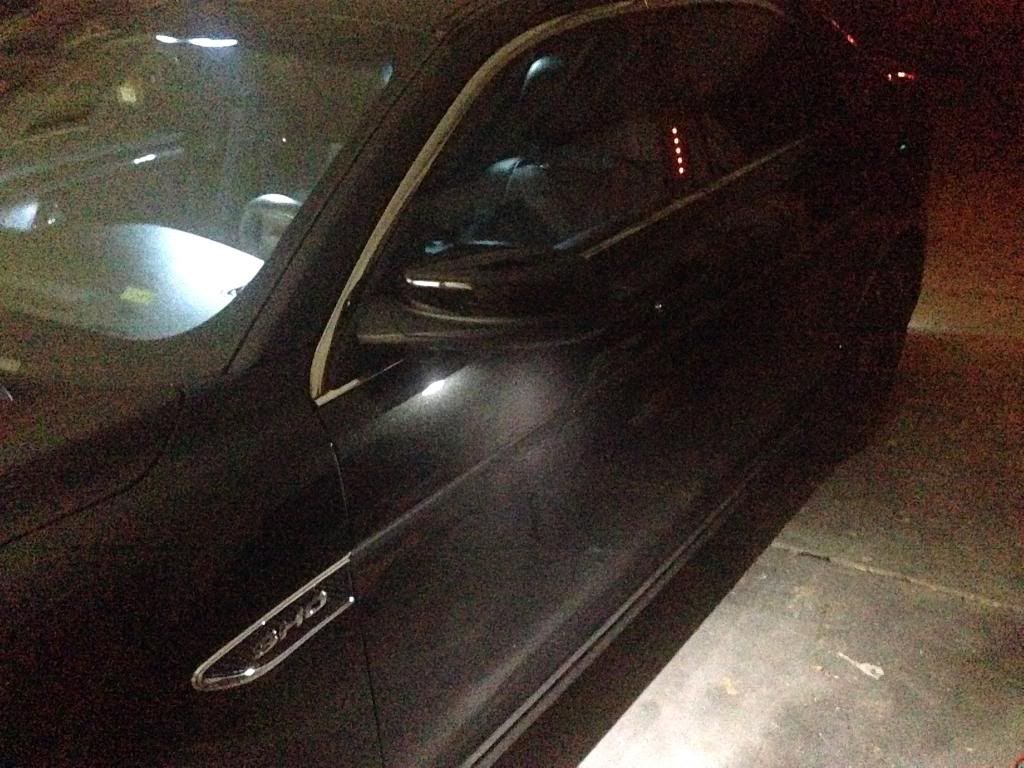
On to the Switchbacks! (Once again, pardon the dirty car, I live on a unpaved road and haven't washed in a week.) They are vLED Triton V3's with a color temp of 5K on the white part (they offer 6K if you want the blue look). The white is 600 lumen (on a meter, not just adding the numbers for the individual chips which is an incorrect measure). The pic of what came in the package with connections labeled is posted earlier. They worked first time and the instructions are easy and intuitive, except..
I'm still hunting for the headlight + wire to try the 50% reduction option when headlights are on.... any help here would be appreciated!
The company warns about heat from the control module which is about 1/3 heat radiation fins and recommends mounting to metal... I never realized how much plastic there is in our crowded SHO engine compartments.
On the left side I removed the air intake... familiar to those with a CAI. I could see the park/run/blinker but couldn't reach it with the air intake in place... so out it came.
The air induction removed and set to the side in this pic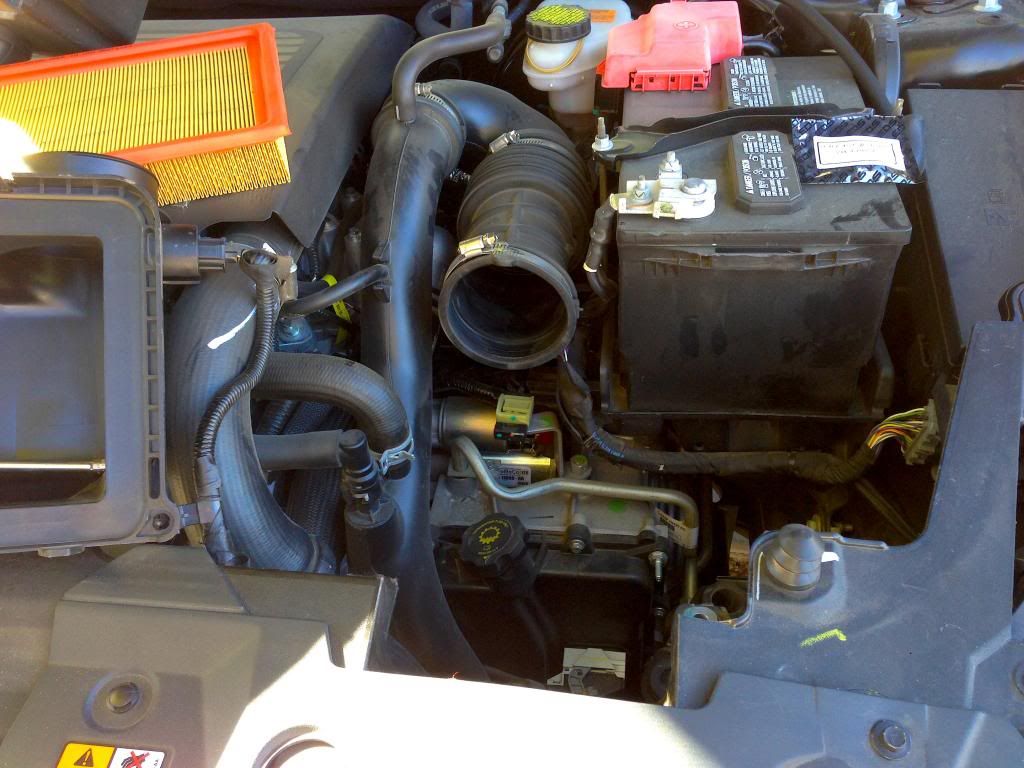 Lean over a little and look toward the left front tire. You'll see the tan bulb socket just medial to the HID housing. BTW, all Ford lighting sockets unscrew counter clockwise (as you face it from the side you'd grab to rotate it)
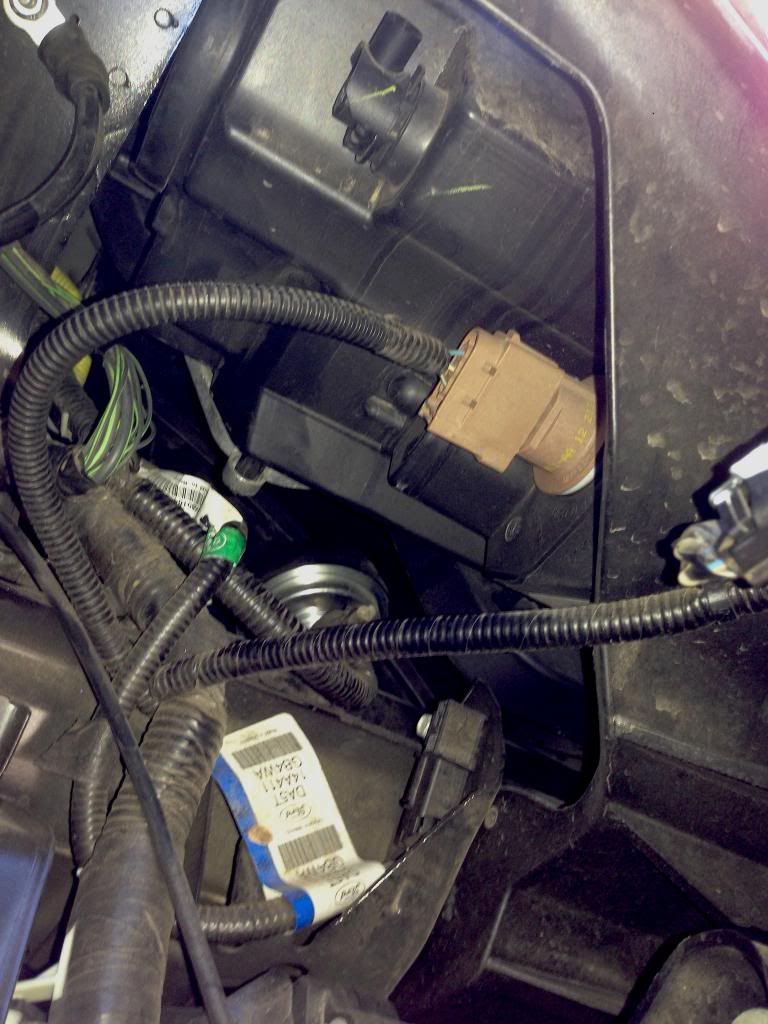 Here are three pics
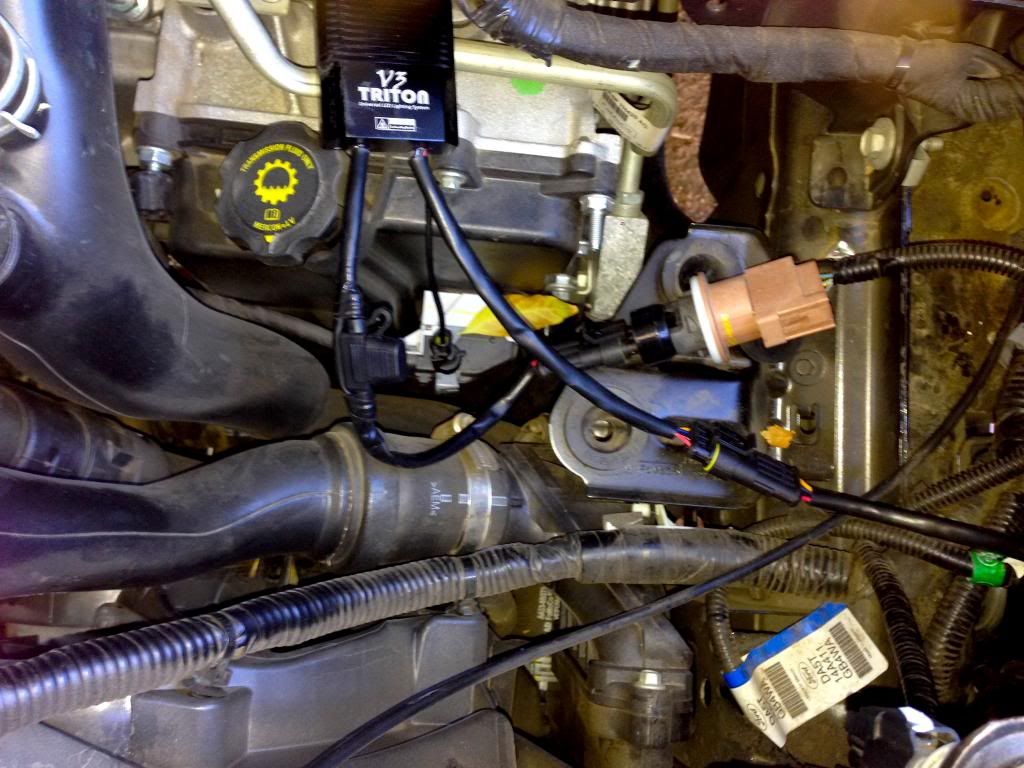
....
The first one shows the Triton system assembled and plugged in to the OEM socket (which I secured and protected with electrical tape) lying on the air filter support...
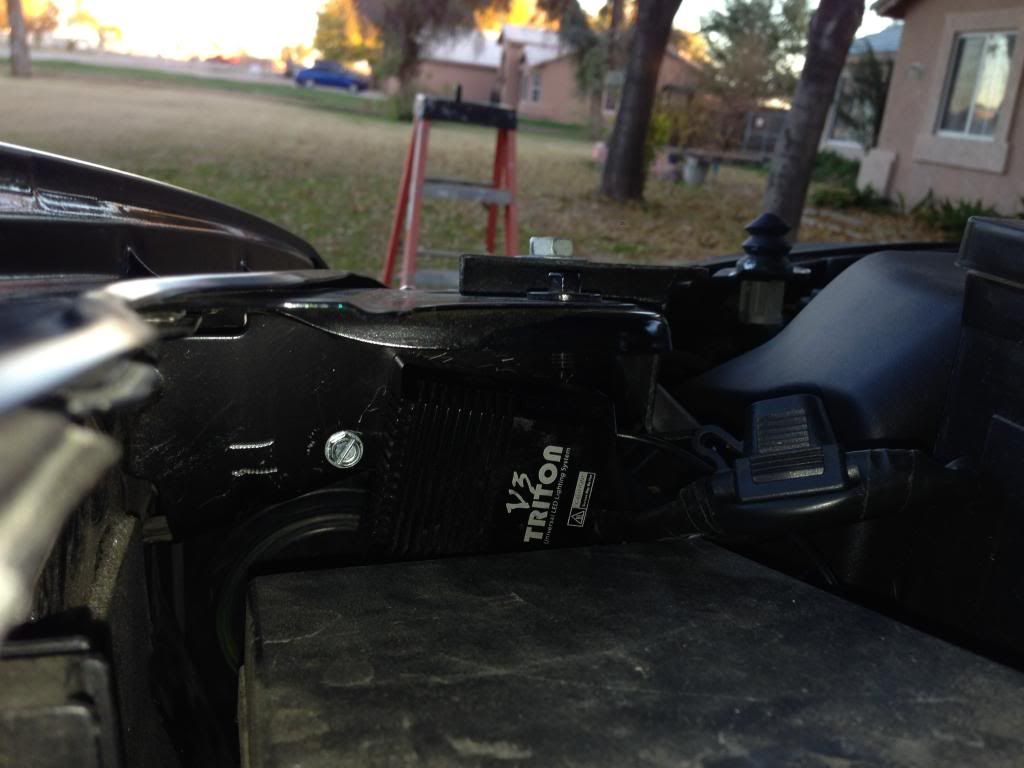
The next one shows where I mounted the control module on a body panel support out of site and zip tied all the wiring (the only hole i drilled)...
and the third is the Triton bulb and socket in the headlight cowl OEM opening

On the right side the window washer fluid container neck was flexible enough that I didn't have to do any R&R to install the Tritons. I cut away a 3"x4" area of a sound deadening sheet and mounted the control module on the wheel well using an OEM electrical ground screw that was there. Sorry.. no pics, couldn't get the camera to focus through the foreground things. The Below are a series of comparison pics with only the left system install. Be careful not to damage the washer fluid hose.
Below is a series of comparison pics done mostly during daylight that allow comparison of appearance/brightness/color with various functions... The white is a perfect match for the OEM HIDs and the amber is a little more yellow... but they told me it would be.. The white part is 600 lumens and the amber is 430 lumens. Labels are above the pics, and there is a video at the end also. These were all done with just the left side Triton system installed Stock Right, Headlights off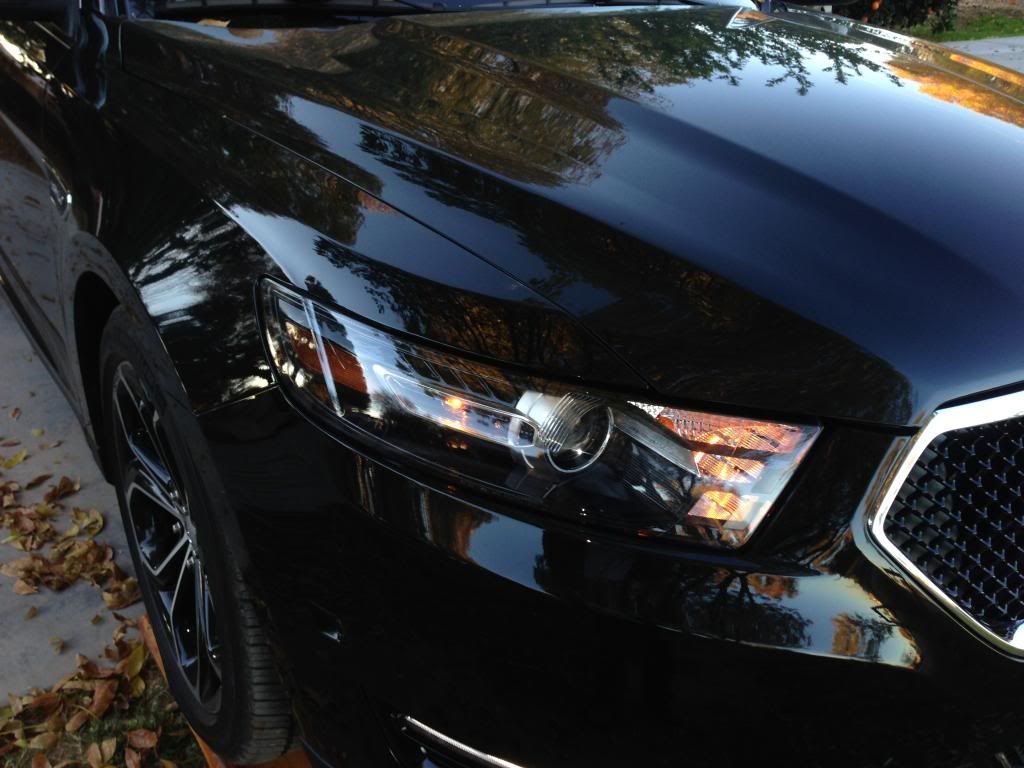 Triton Left, Headlights off
 Both seen with Headlights off.. OEM passenger side, Triton Driver side
 (The car is on ramps because a I dropped a ratchet and had to open the under engine panel.)
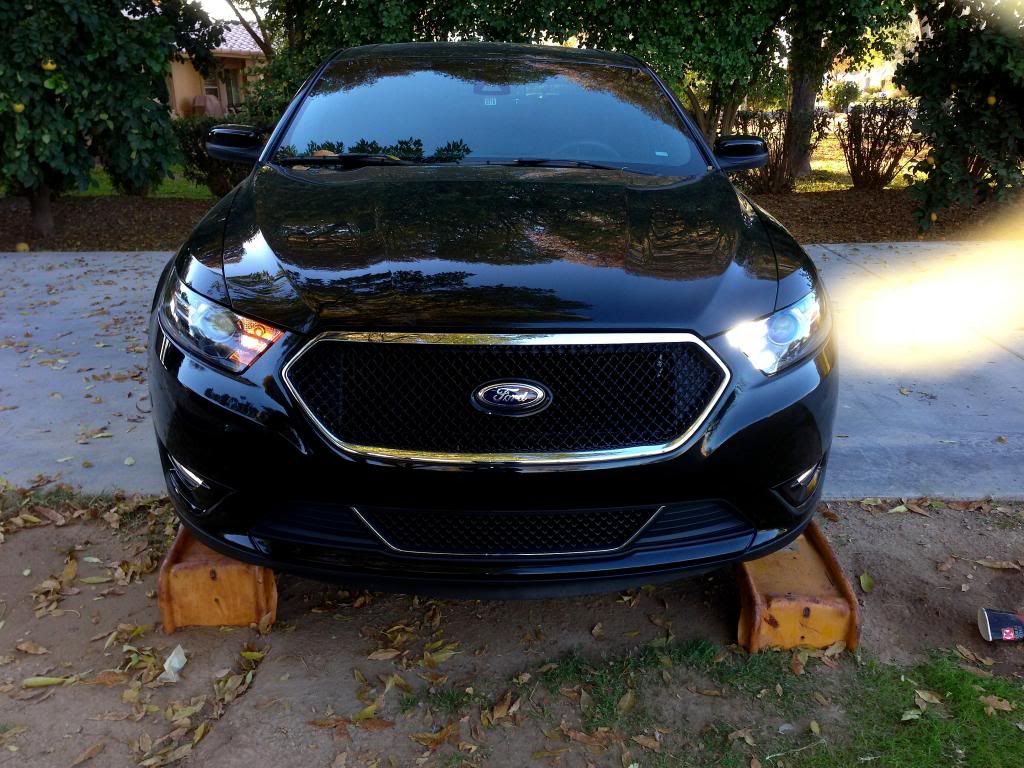 Headlights on (no blinkers)
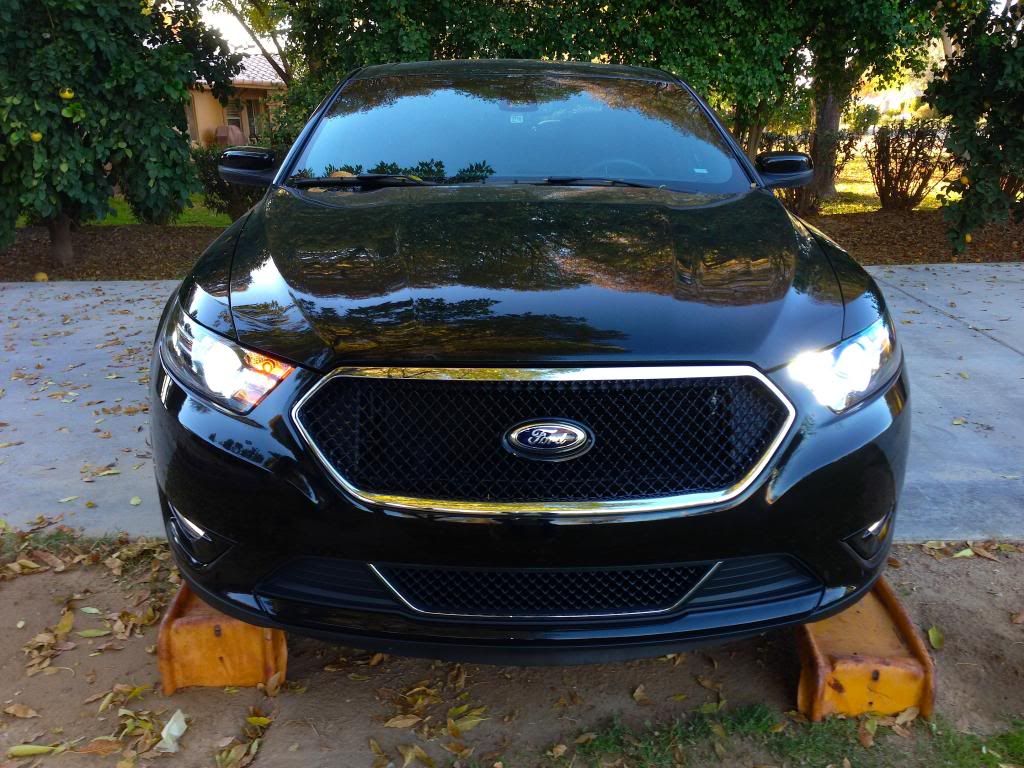 Headlights on with flashers
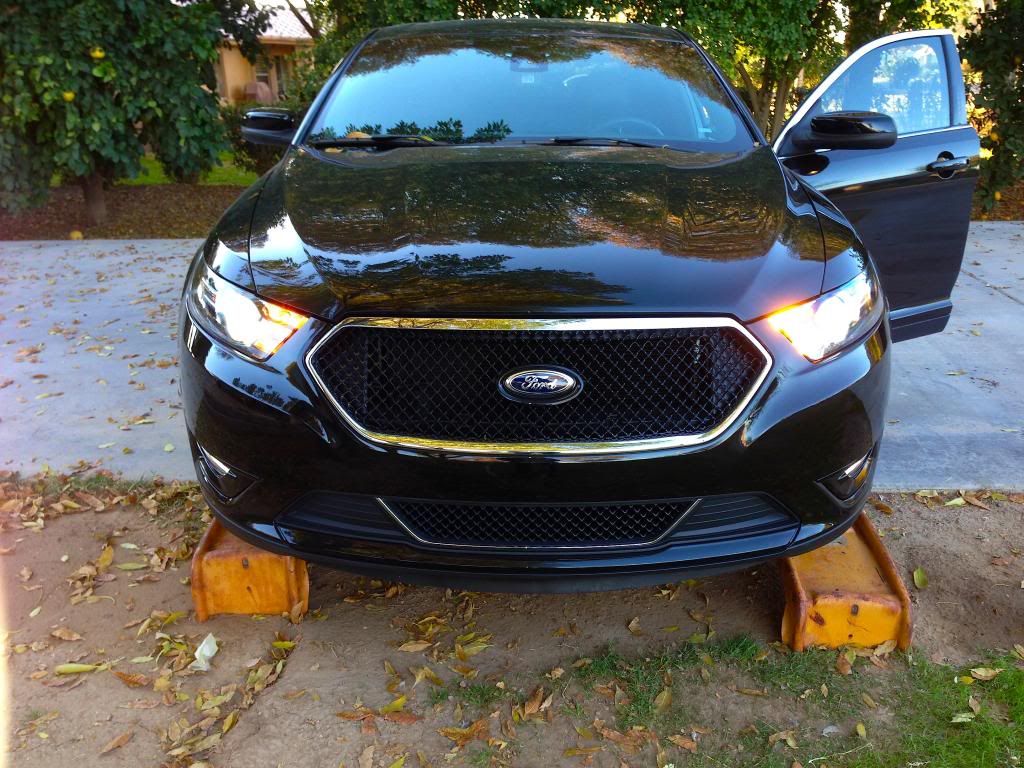 Left side in the dark shows a pretty good white color match with the "accessory parking lights" and HIDs at the 5K color temp
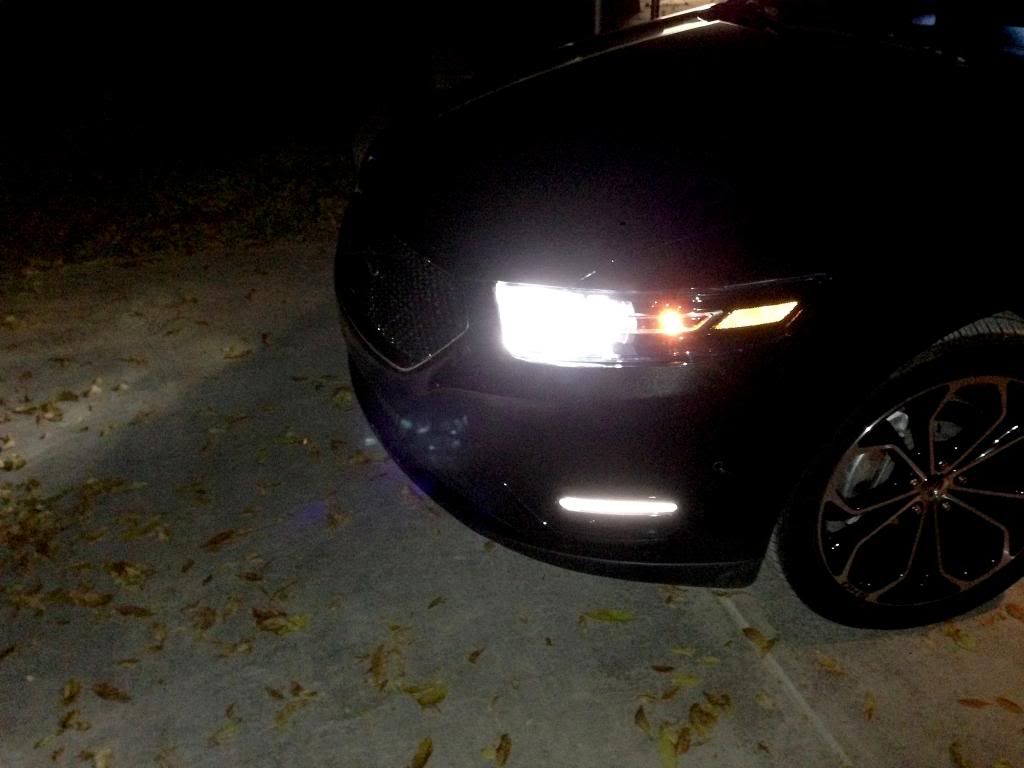 Here's a video demo with all combinations of the lighting functions shown. This was done with the left side Tritons installed and the right side remaining OEM so you can compare:
 It shows the color match, even yellow is fine, as well as the crisp action of the LEDs and their brightness.
http://youtu.be/1zex4WRtlbEIf you've read this far, Thanks for your interest! Any comments or questions welcomed!
As you noticed if you've been following, I still need to replace the side-markers with LEDs, but you can't even see them looking under the hood...they are behind large panels. I have to believe that Ford has a way without removing the entire front clip. I loaned my jack stands, but if I haven't found the trick for access soon, I'm going to put the SHO on jacks with front wheels off and remove the wheel well liners... I took a little peek and it might work to access the side-marker bulb sockets.
And yes......... I did install both sides!!Thanks again.... the modding continues.... spent a lot of time between classes at the horse show texting with Brandon as performance oriented mods start in Jan with a baseline stock dyno this Friday...... with more, like subs and DSP, to follow. I have a terminal case of mod bug infection!

