Hey everyone,
Thought I would share yesterday's project with you. After getting the windows tinted on the MKS the other day I figured I would go ahead and tint the tail lights. This is about the 6th set I've done over the last few months so I think I've got it pretty much down to a science. If you follow my method you will achieve a very glossy finish that can be easily maintained with your favorite polish and wax.
Step 1 - Remove tail lights. Be careful not to scratch the bumper while removing, I generally add a few rows of blue tape just under the lights to be safe.
Step 2 - Ready your supplies. Here is a pic of what I use. Not shown are 1000 and 2000 grit wet sandpaper, a bucket of warm soapy water, and plenty of soft microfiber towels. Make sure to get a clear coat that is sand-able! The first time I did this project I used a Rustloeum product that wasn't and I had to sand the entire lens back down and start from scratch, not fun.
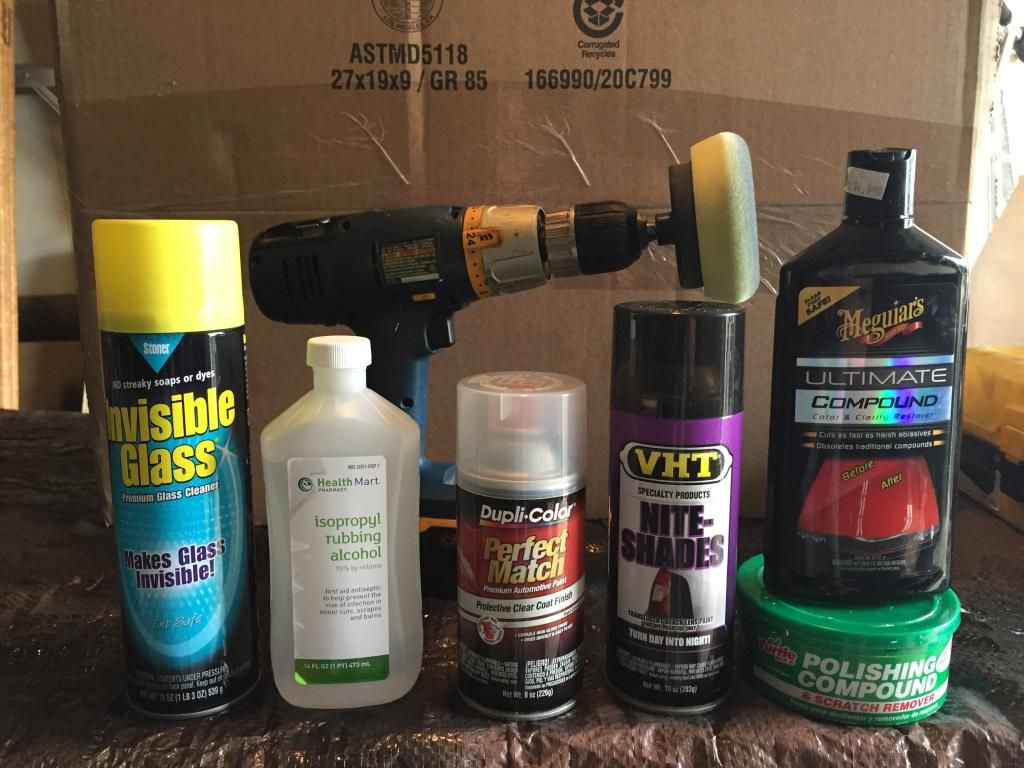
Step 3 - Soak the 1000 sandpaper grit in the soapy water for about 10 mins. Lightly sand the lights using light pressure and long strokes, keeping the surface wet at all times. You are just looking to knock the gloss off the lens.
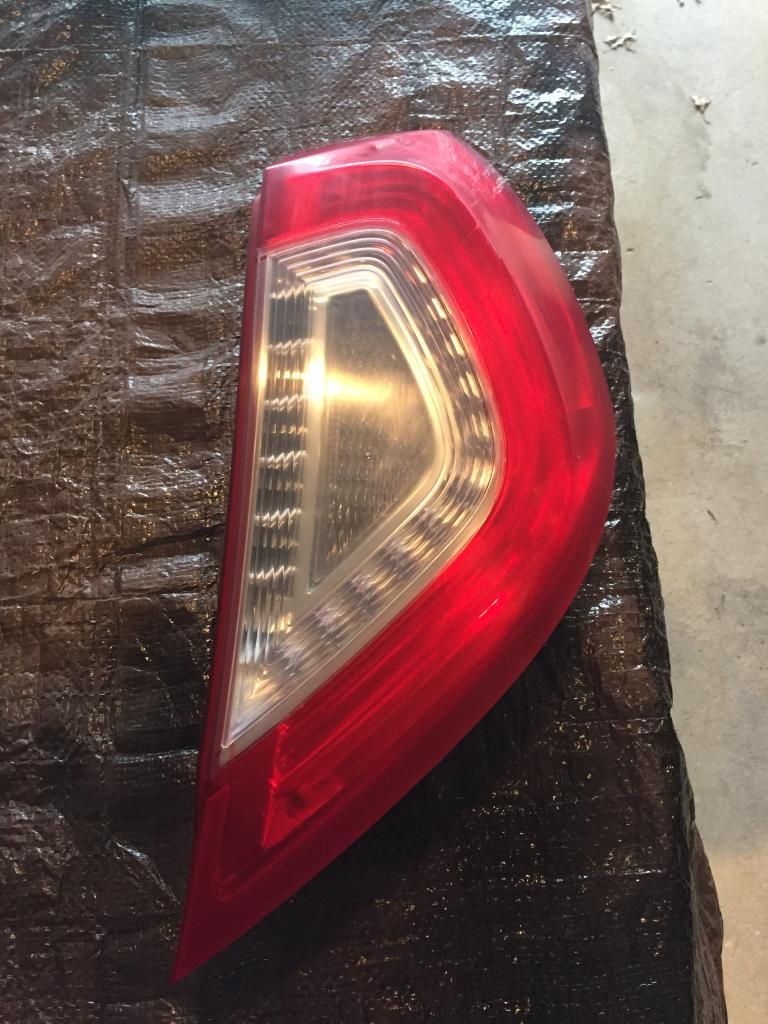
Step 4 - Take a microfiber cloth and moisten with the rubbing alcohol. Clean the surface of the lens and let dry. I use a small leaf blower to make sure I get all the water out of all the little crevices.
Step 5 - Now its time to spray on the tint. I generally use 4 coats which makes it look pretty dark but the lights still shine through just fine. The first coat should be light, followed by 3 wet coats allowing about 10 mins in between. Once you have all the coats applied put them in a nice warm place for about 3 hours to dry. Here is what they look like with just the VHT. They will be shiny but not super reflective because of the orange peel.
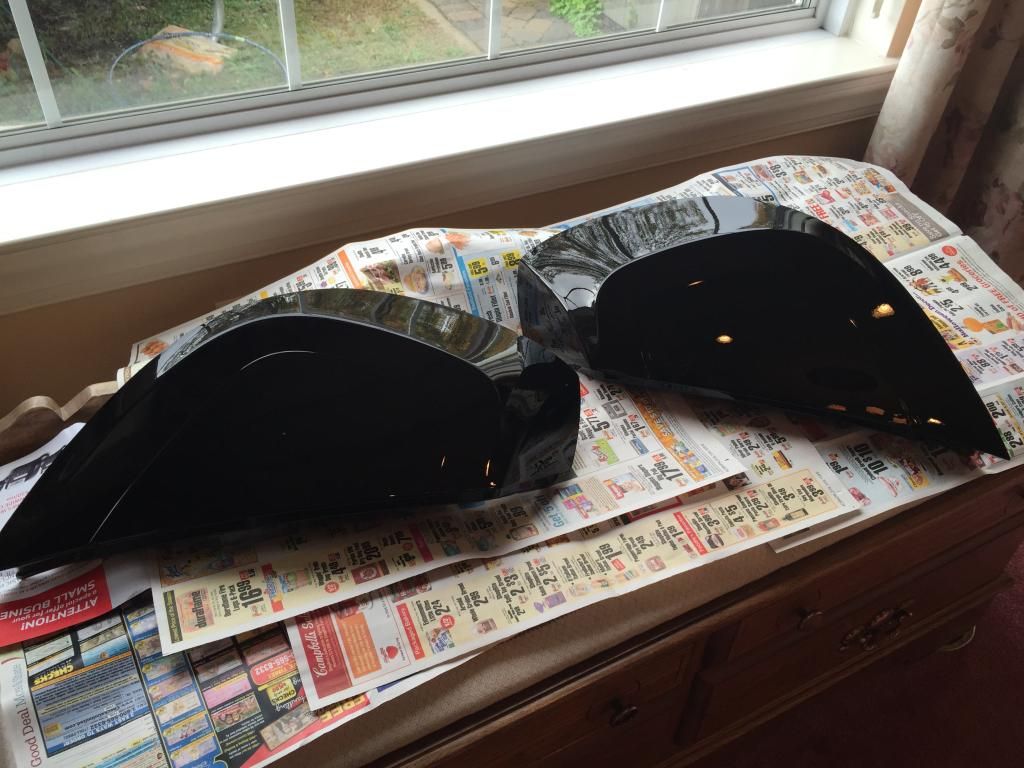
Step 6 - Once the tint is dried you can know prep the surface for clear coat. Take your 1000 grit paper again and lightly sand the lenses using light pressure and keeping the paper wet at all times. You are not looking to remove a lot of material here, just trying to knock out the orange peel. Once the surface has a nice uniform grey haze to it your ready to go. Be careful on the contoured areas to not sand too much cause you could go through the color.
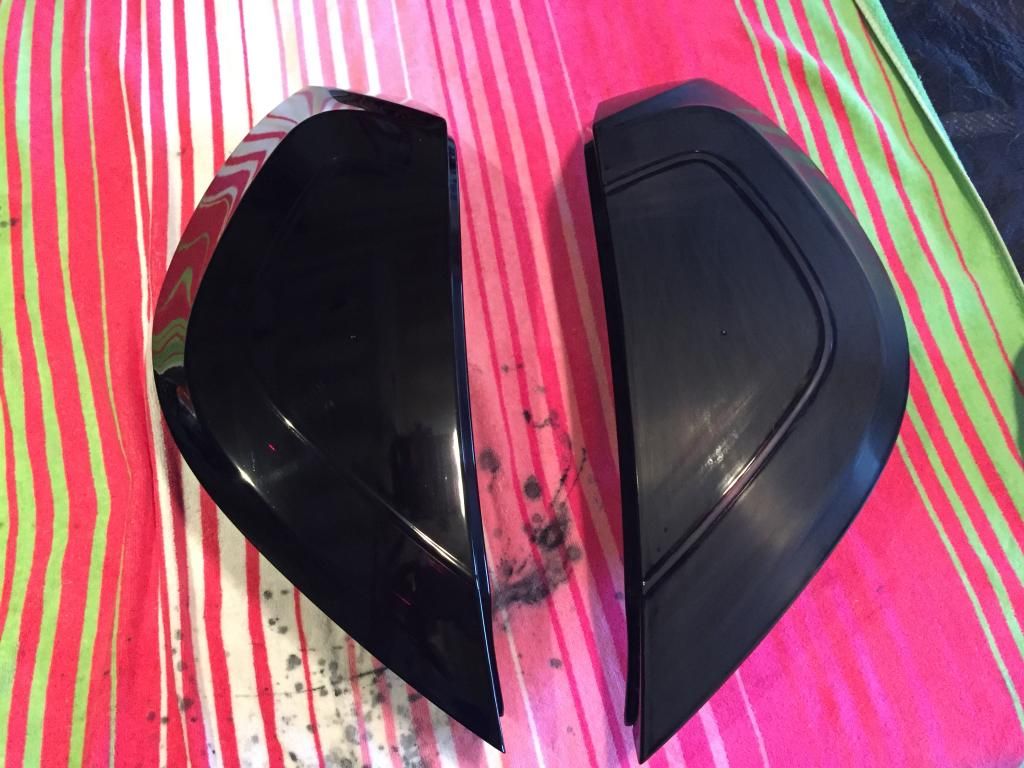
Step 7 - Clean the lenses with alcohol before applying the clear coat. I generally go with 5 coats, with the first coat again being very light. Once complete allow to dry another 2-3 hours in a warm place. Here they are, not super reflective but they will be soon.
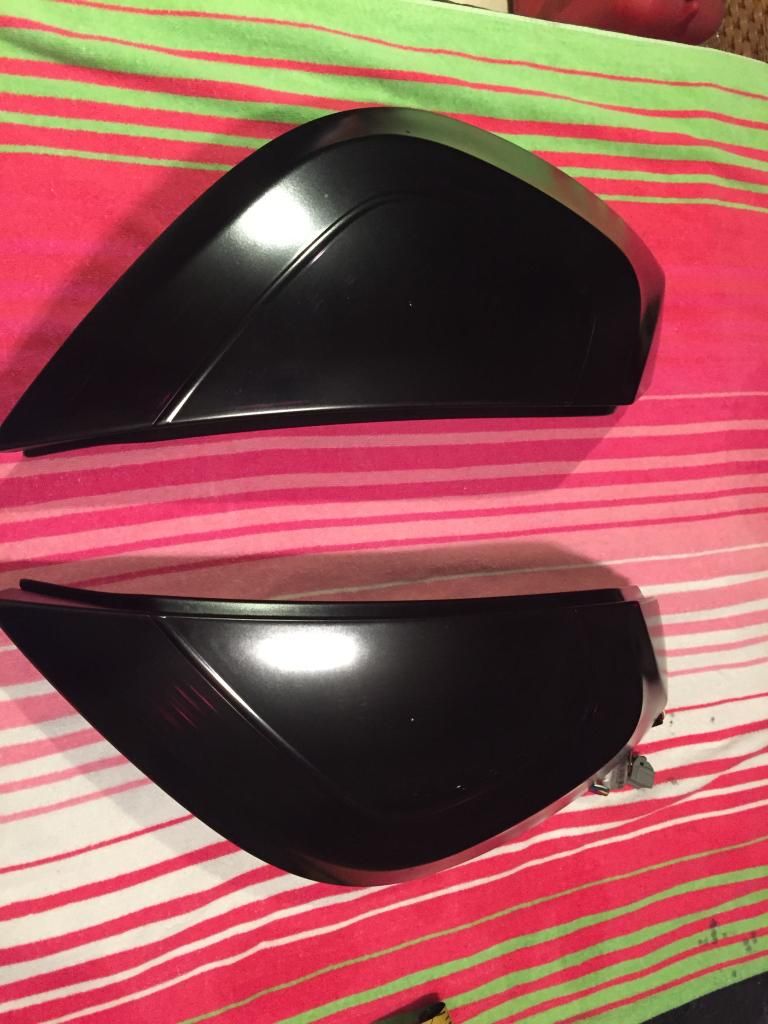
Step 8 - Lightly sand the lenses with the 2000 grit paper. Again, just trying to knock out the orange peel. Be careful on the contoured areas not to sand too much as you could go all the way through the clear.
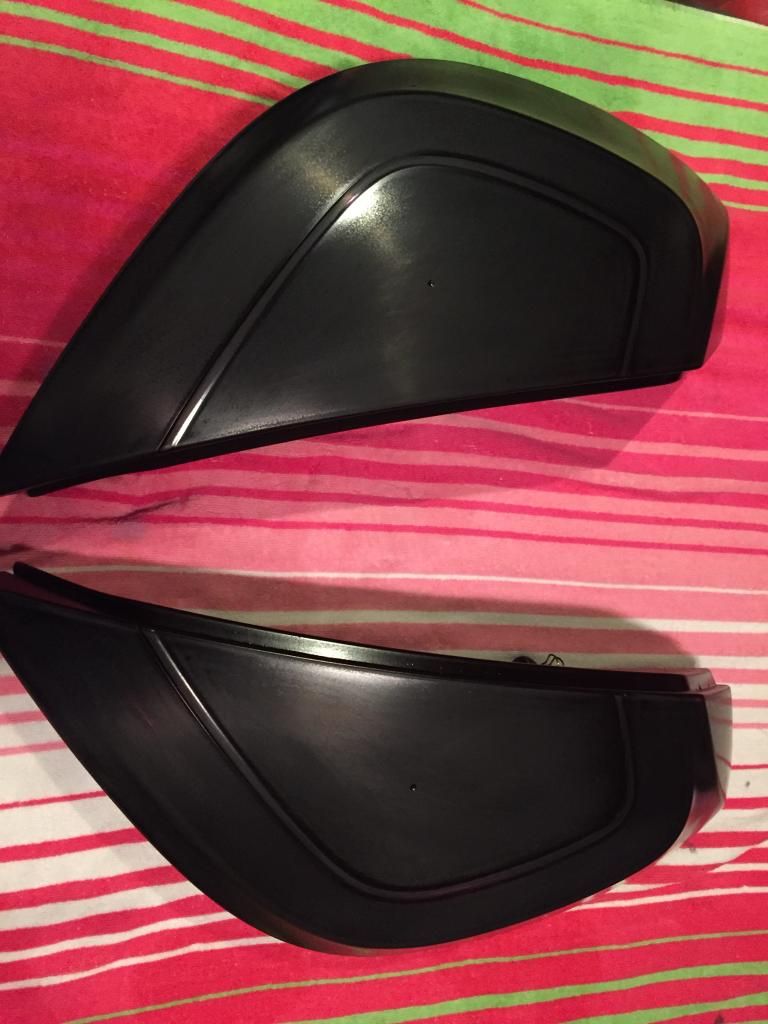
Step 9 - If you have someone to help hold the lenses for this next step, leave them off the car. If not, you can re-install the lights but make sure to mask off the areas around the edges. You don't want to damage the car's paint during the buffing process.
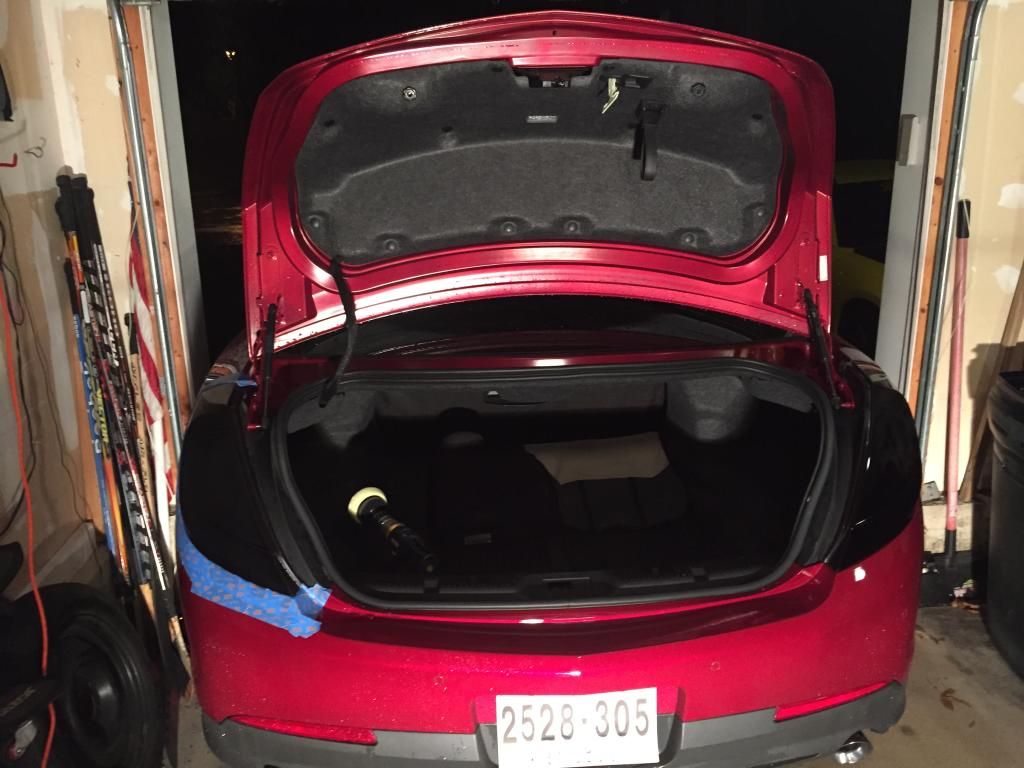
Step 10 - Using the Turtle Wax compound (green can) and your drill with 2" foam pad, start to buff. I generally start on a pretty low speed just to work in the compound. Once the compound has started to break down you can then increase the speed of the drill, work until the compound is almost dry. Remove the residual with a micro fiber cloth and some detail spray. At this point you will still see some minor scratches and some haziness.
Step 11 - Using the Mequire's Ultimate Compound and a fresh 2" foam pad, follow the same process. I generally like to do this 2x per lens, removing the residual compound in between. Don't be afraid to use a fairly high speed on the drill and decent pressure. You are looking to build up a little heat in the pad which helps the process.
Step 12 - Apply a coat of your favorite wax.
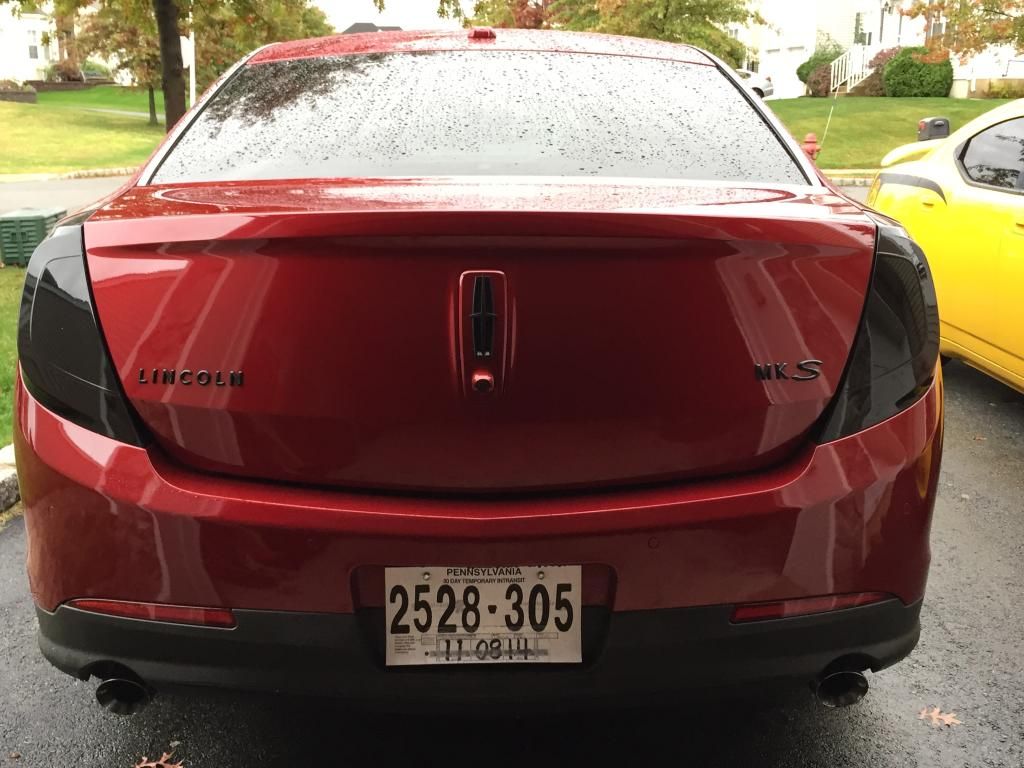
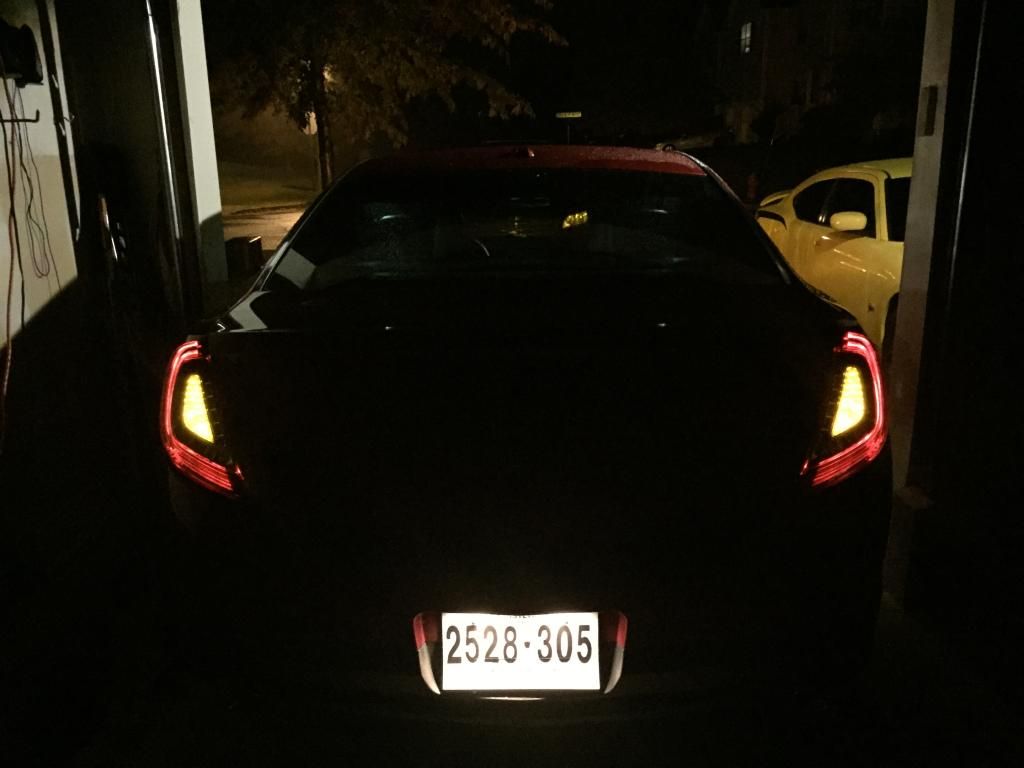
Here is the finished product. It's an all day project with the dry time involved but actual working time is maybe 2 hours.
