Ok, so since there seems to be some degree of resurgence here (thanks to fellow EBPF member Geswek, a.k.a. "Lord Tubby Ton").....
I figured since there aren't any real vendors out there fabricating these as of this thread creation, that I'd toss out some of the pics involved as to how mine was created.
This way, for any of you looking to achieve a similar design/look in your own SHO's, well then, just point your fabricator to this thread, and it should be of some relative assistance to them I'd guess?
No, this is not one of my infamous "How-To" tutorials, as I didn't do any of the work really. Well, other than wiring up the gauges once the pod was done.
Therefore, I'll toss out suggestions and what not, but again, don't construe this as one of my "How-To's.
Hope it's of some help to those interested in tackling this project.
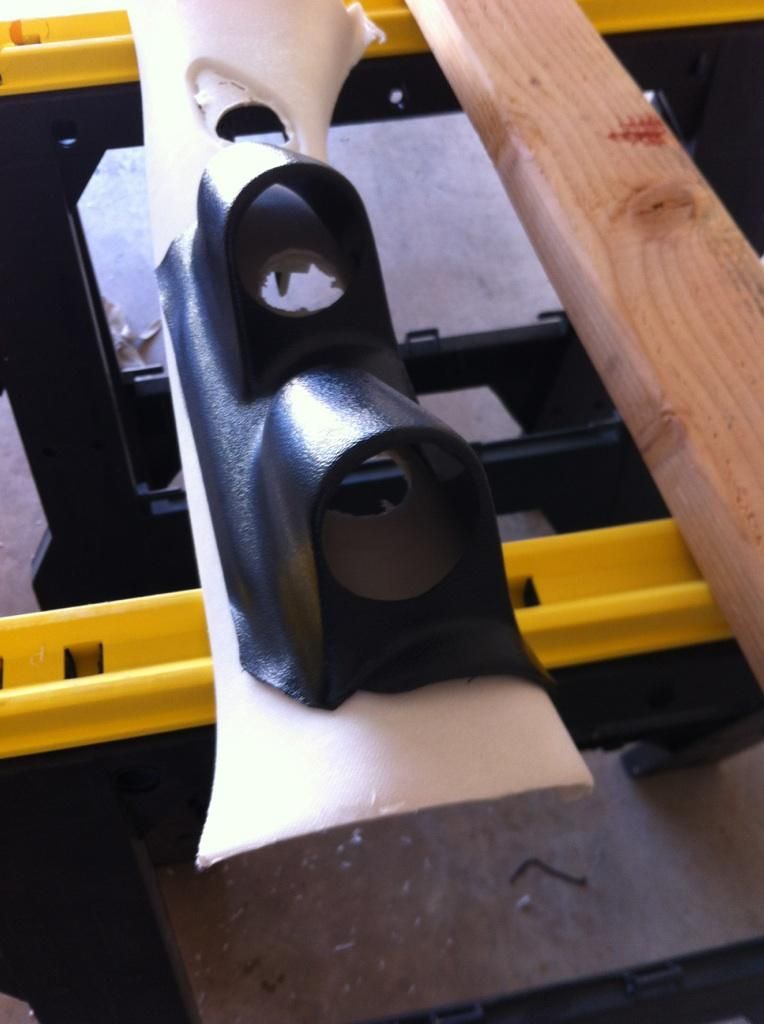
To start off, you'll need to pre-order this item here 1st:http://www.glowshiftdirect.com/Universal-Dual-Gauge-A-Pillar-Pod.aspxBelow are some images of the progression of the A-Pillar build......In this 1st pic below, you can see that the factory A-Pillar was removed from my car, and all of the stock upholstery was painstakingly removed. Additionally, holes were drilled to allow for the wiring from each gauge to pass through, and the factory tweeter, & it's cover were also removed (be gentle those speaker grille tabs break SUPER easy!:

In this second pic, you can see the previously purchased Universal 2 Pod, Gauge Pod is situated/positioned in relation to the pillar itself, and the drilled holes:
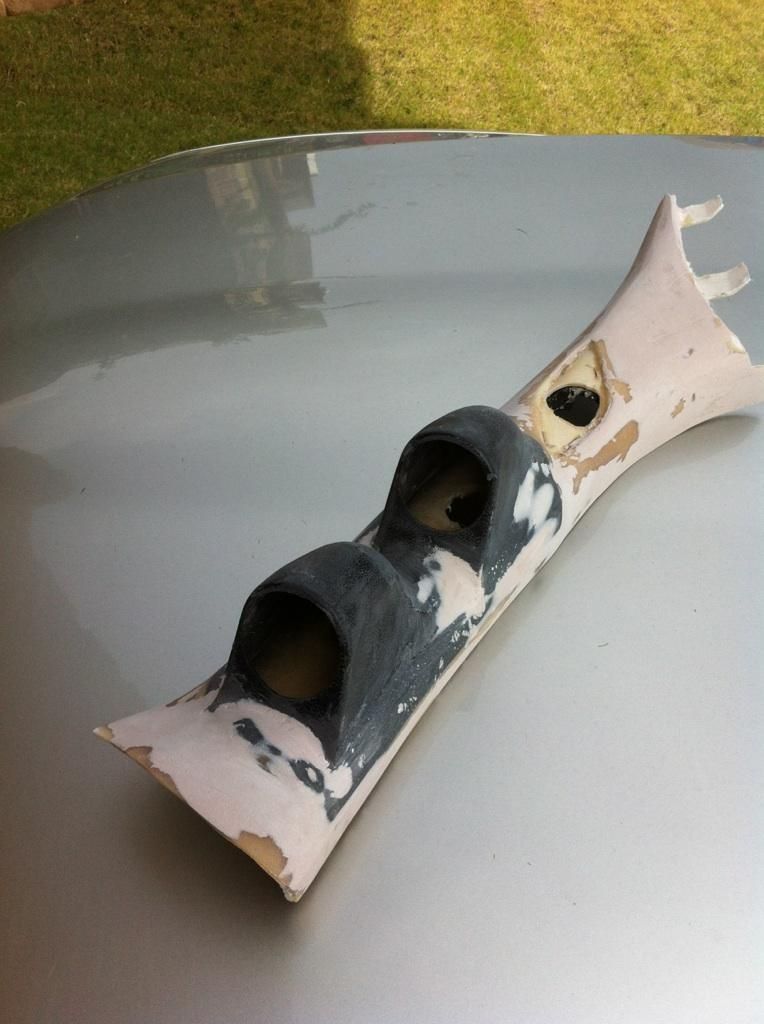
Fiber glassing the A-Pillar itself to help build up the surface for pod piece attachment:
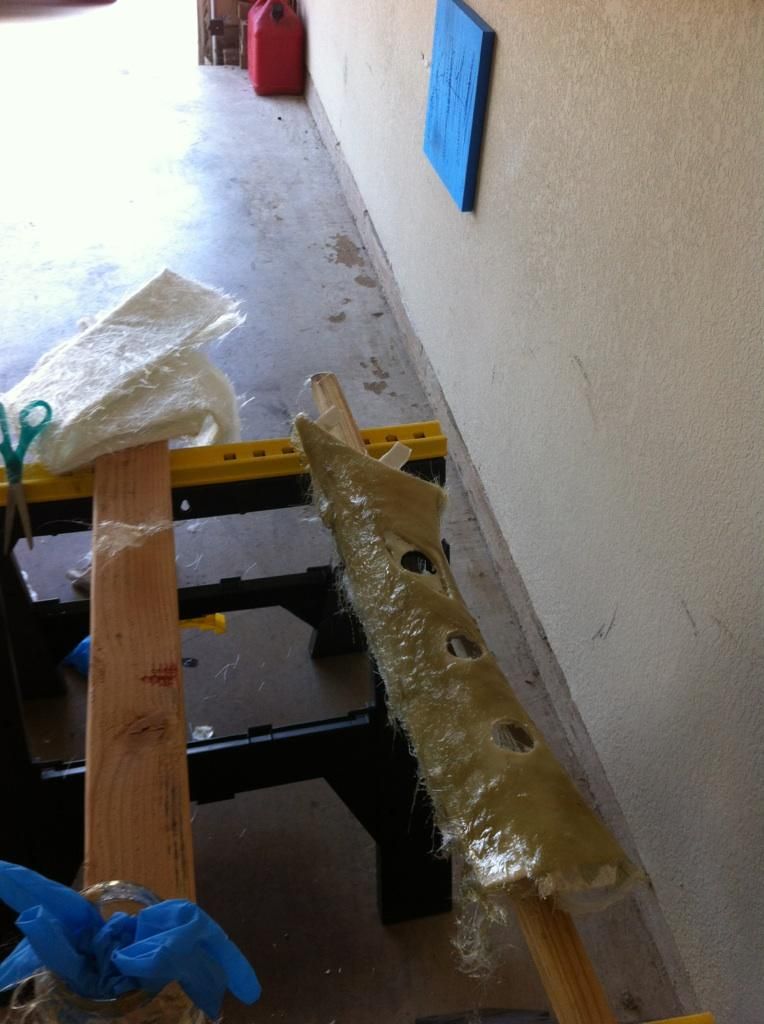
Fiber glassing the pod piece onto the factory/OEM Pillar:
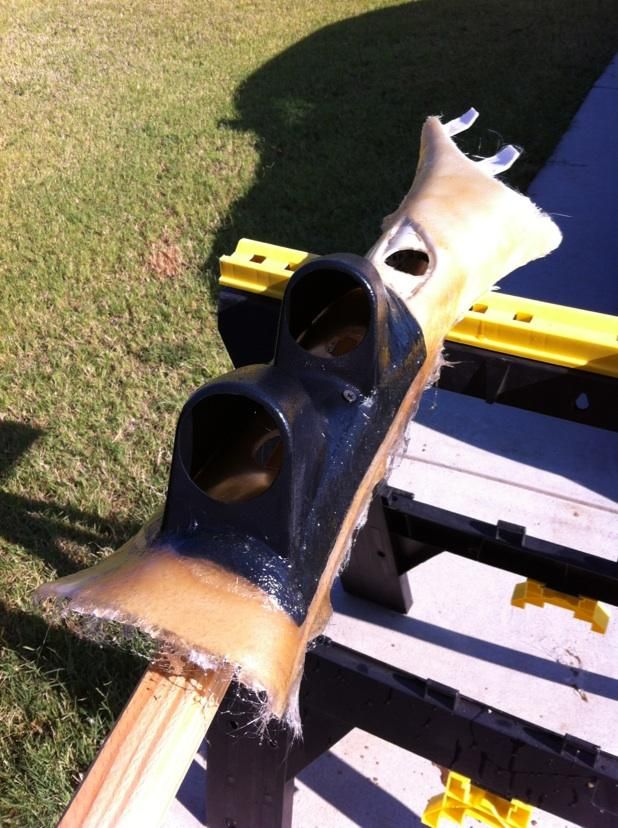
Lot's of sanding is what's called for next.....
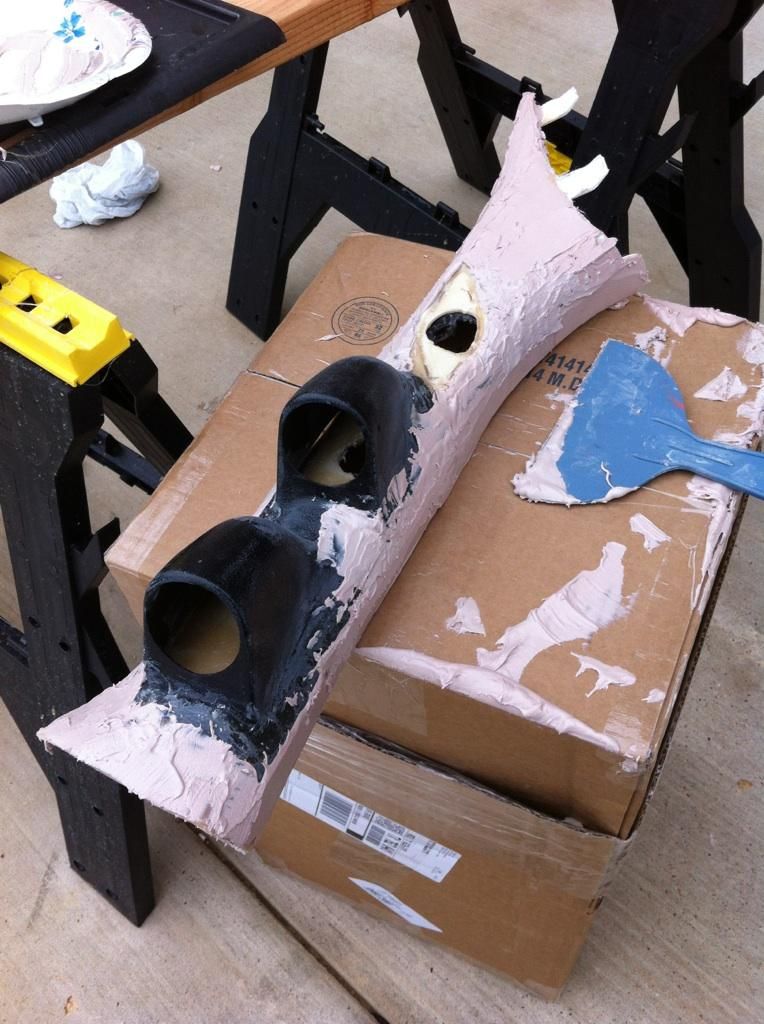
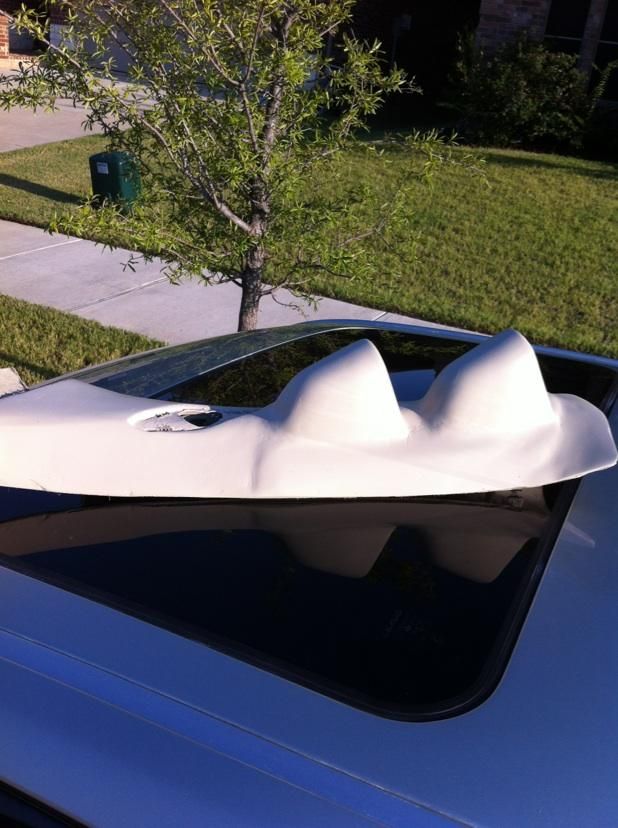
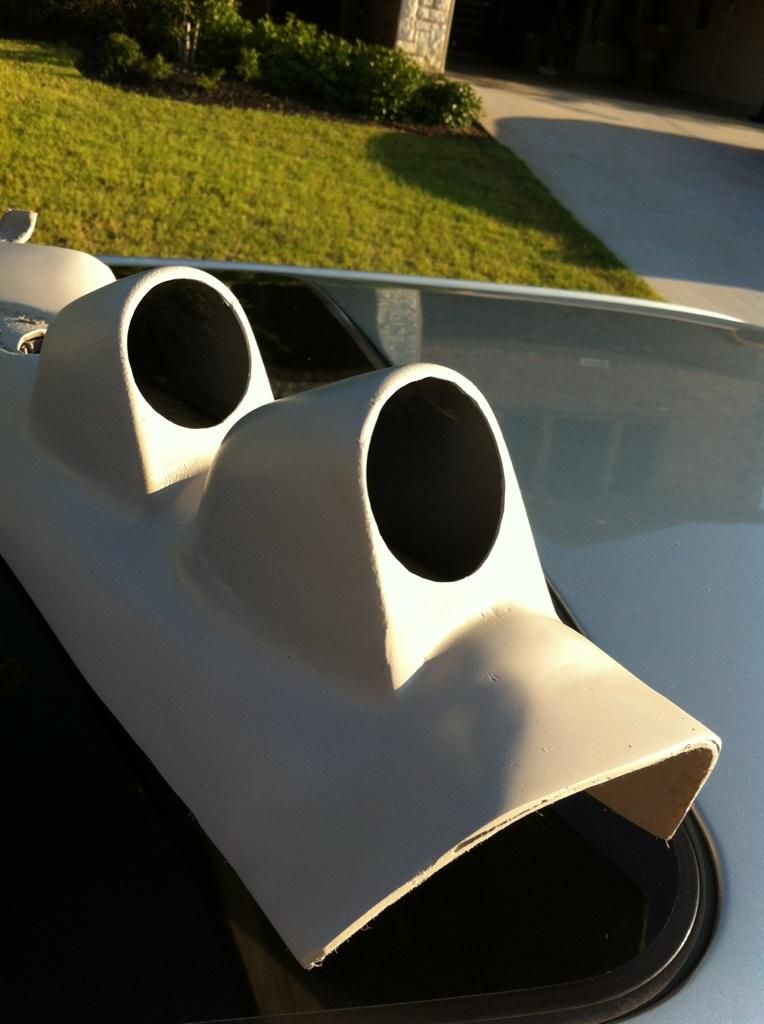
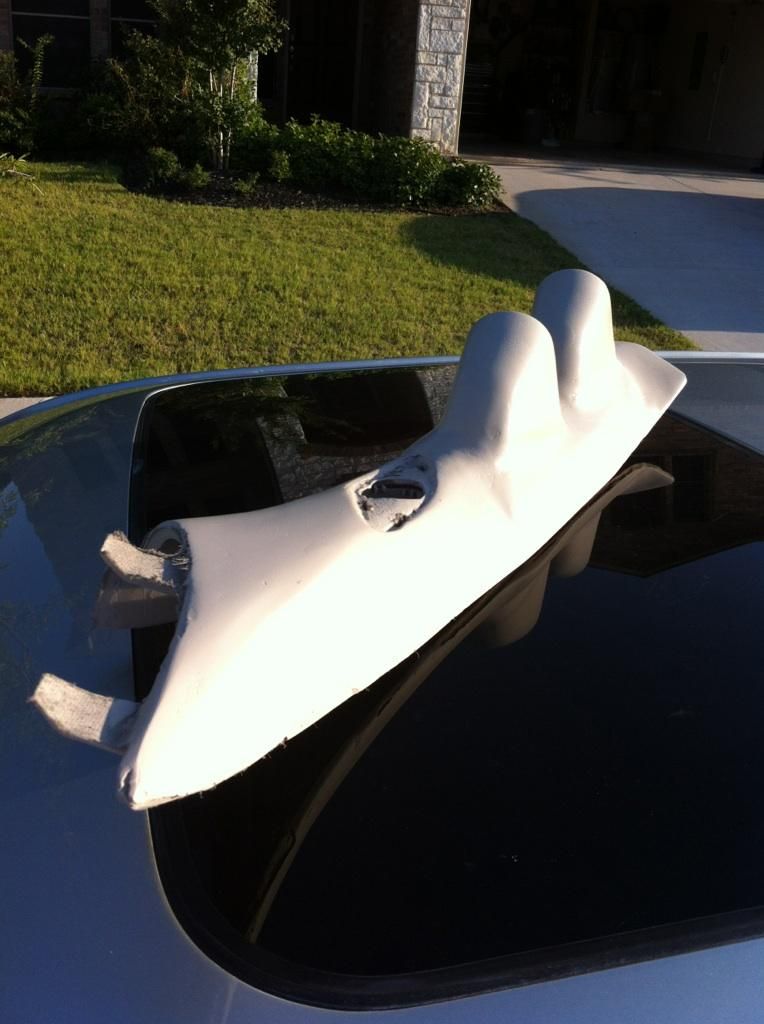
Whoa whoa..... starting to look like some semblance of a finished product:


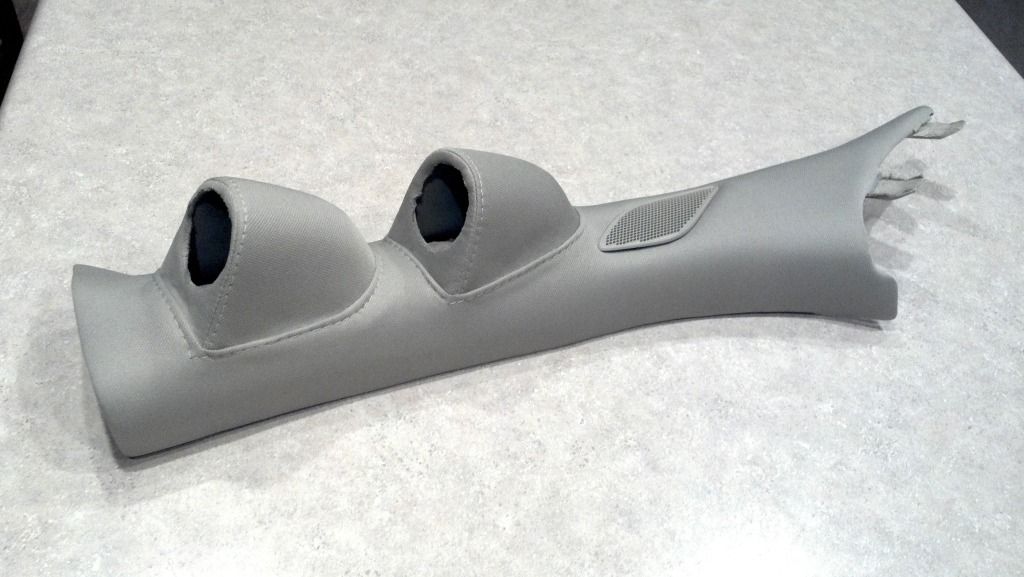
Alright, so the above pictures is how it was ultimately received by me, from the individual who was so incredibly gracious in applying his talents to this project.
I decided, unbeknownst to him, that I was going to take this semi-finished piece (in my mind) and haul it on over to the Custom Interior Shop(
http://www.markscustomautointeriors.com/contact.html) that has worked on my previous car project's, and asked them to Custom Upholster my newly created A-Pillar Pod. Interestingly enough, it took them having to go through three different vendors (of their own) in order to source the correct OEM material cloth, that was a direct factory match fantastically enough:

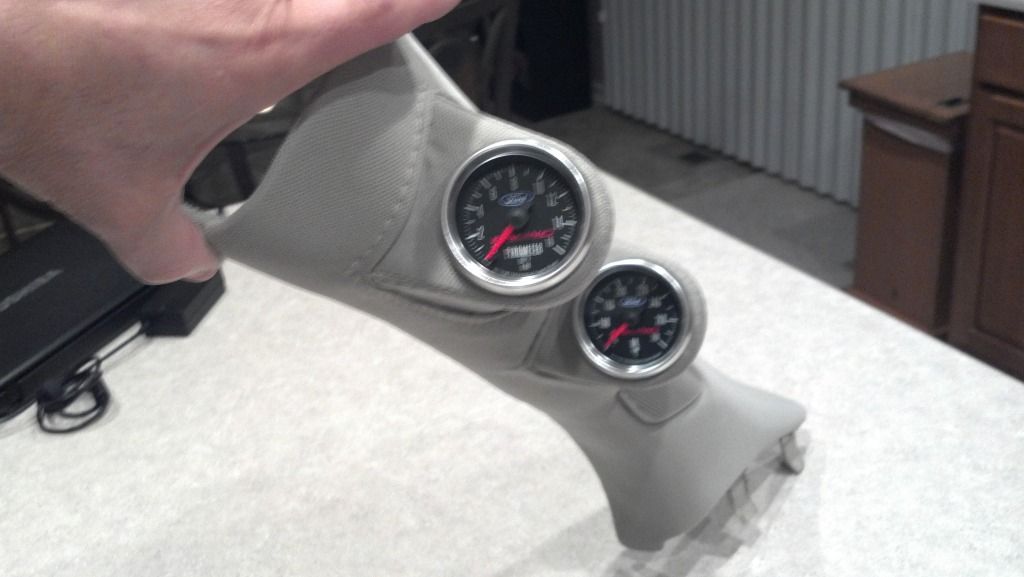
Couple of crappy pics that I took with just the gauges themselves inserted into the pillar (but not hooked up and functional):
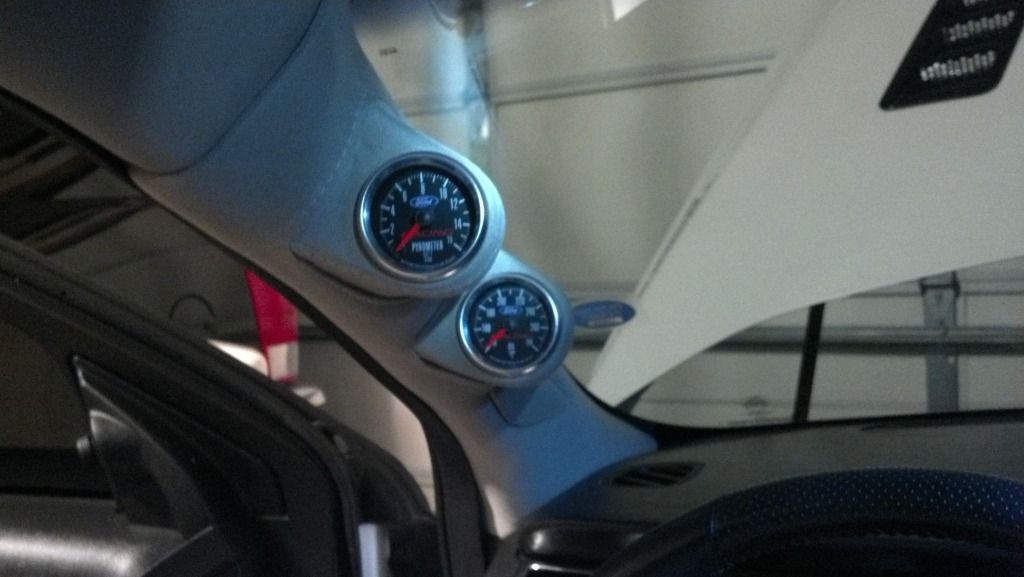
All hooked up and running:
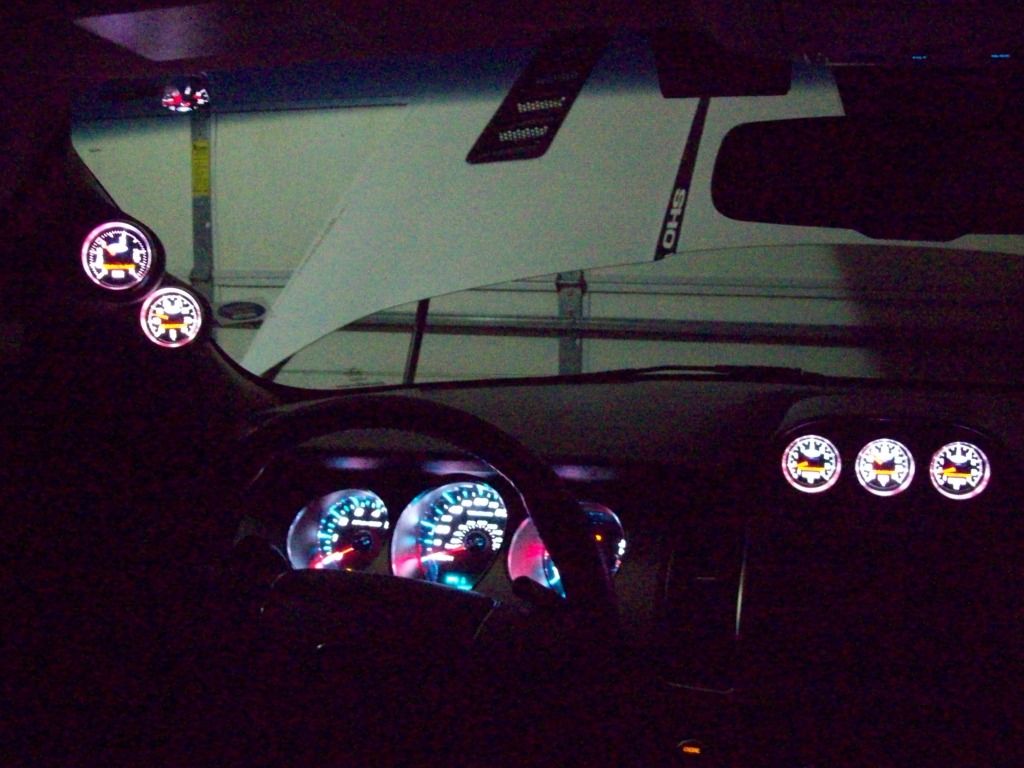

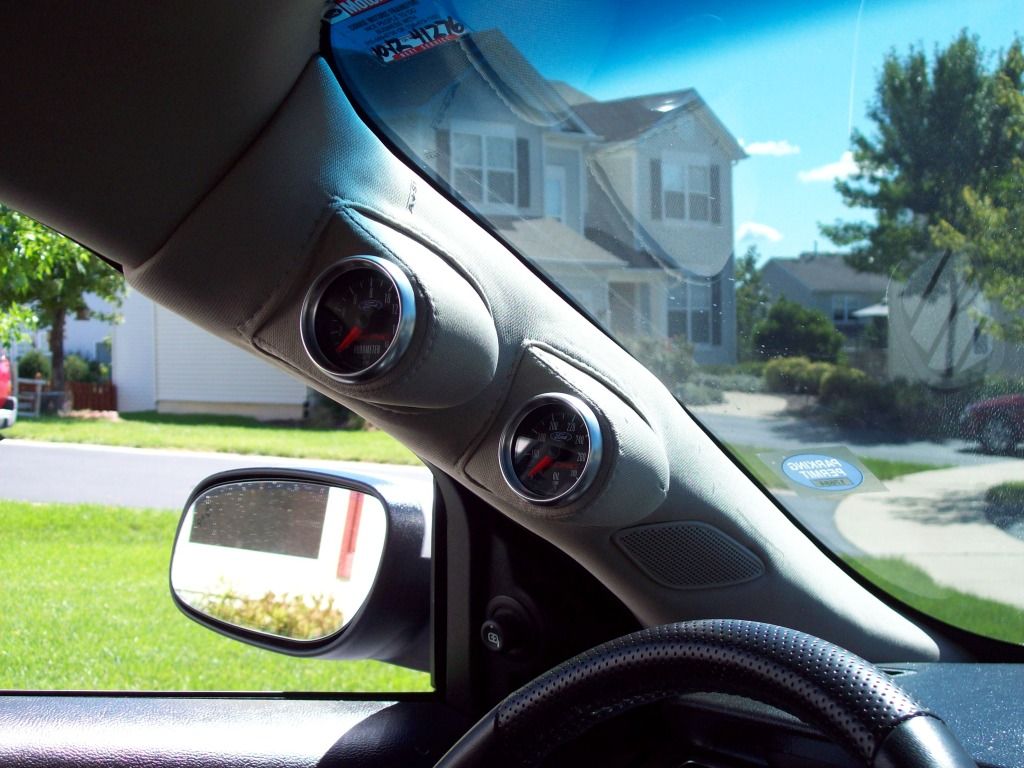
Some much better quality pro-pics from my photographer pal:


Once again, I hope that this post/thread is of some help to any of you looking to tackle this project on your own.
If any of you should have questions, I'll try to answer them as best as I may, but once again, understand, that I had someone else perform the fabrication on this, and other than hooking up the gauges, I really had zero involvement in any of the fabrication and upholstery aspects of it!
Mike


